Setup
In this activity you will:
Launch the lab
Log into the Google Cloud Platform console
Launch a Cloud Shell instance
Clone the lab software repository
This lab can be used in two different ways, through an organized class using Qwiklabs, or at your own pace using your personal GCP account. The two ways differ only in the setup method - every thing after logging into the GCP console is the same.
Warning
If you use your own personal GCP account, you are responsible for all incurred charges and deleting the created resources after completing the lab.
Follow the instructions for the method you are using for this lab:
Setup - Qwiklabs Class
Warning
Before you start it is recommended that you launch a private instance of your web browser. This will prevent the use of cached Google credentials when logging into the GCP console. This will help ensure you do not incur any personal charges.
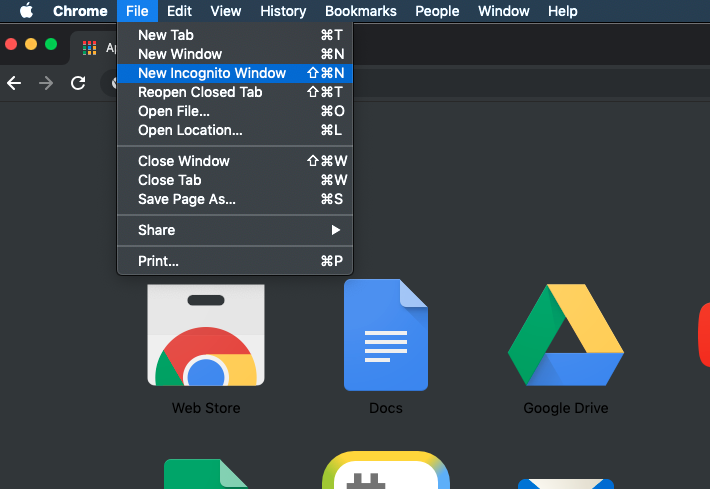
Chrome Incognito mode
Log into the Qwiklabs portal
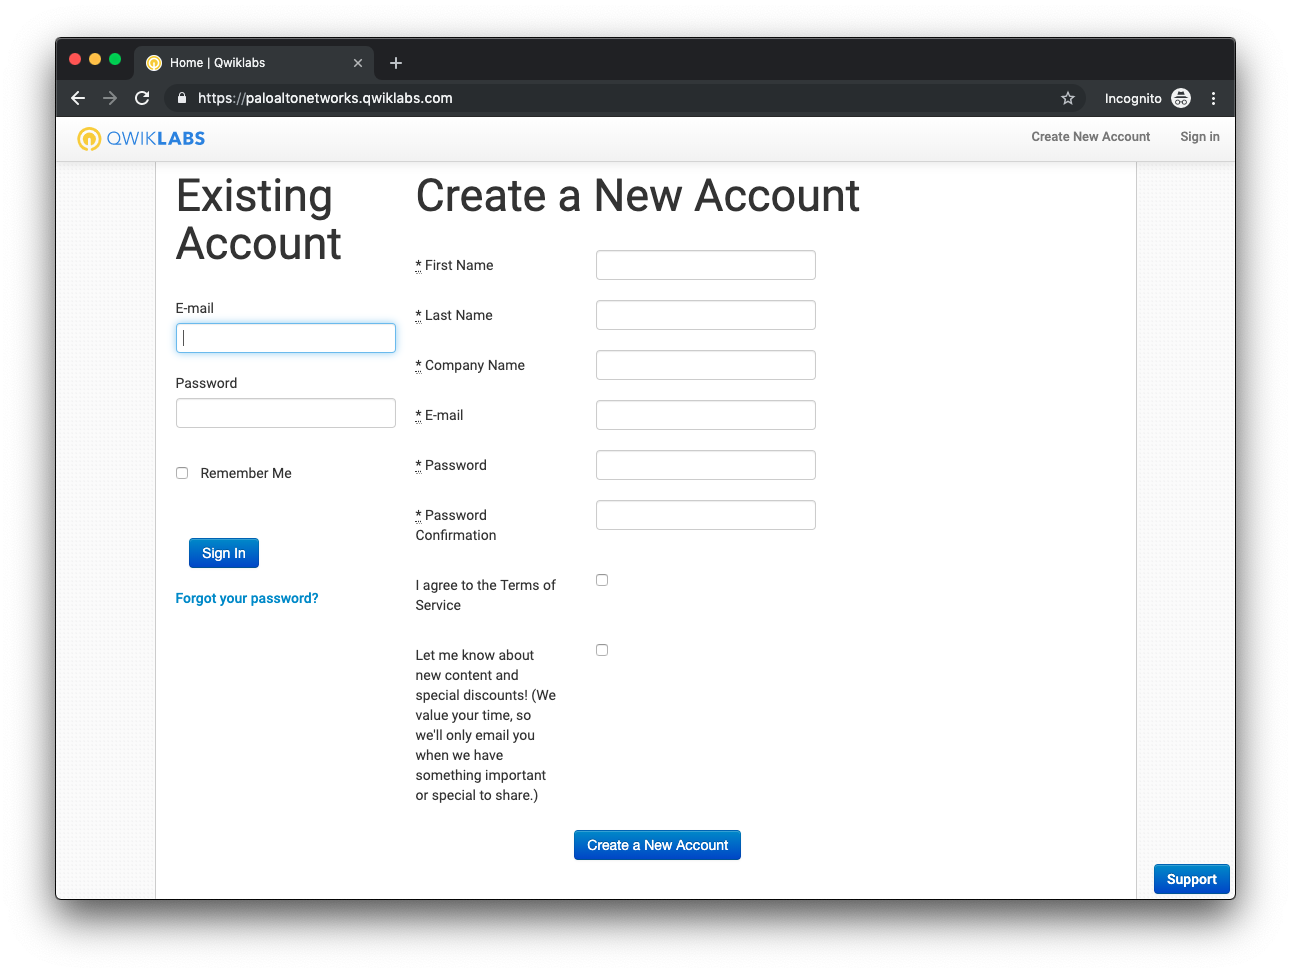
Navigate to the Qwiklabs URL in your web browser.
https://paloaltonetworks.qwiklabs.com
Log in with your Qwiklabs credentials (sign up if you are new to Qwiklabs). You must use your corporate email address for the username.
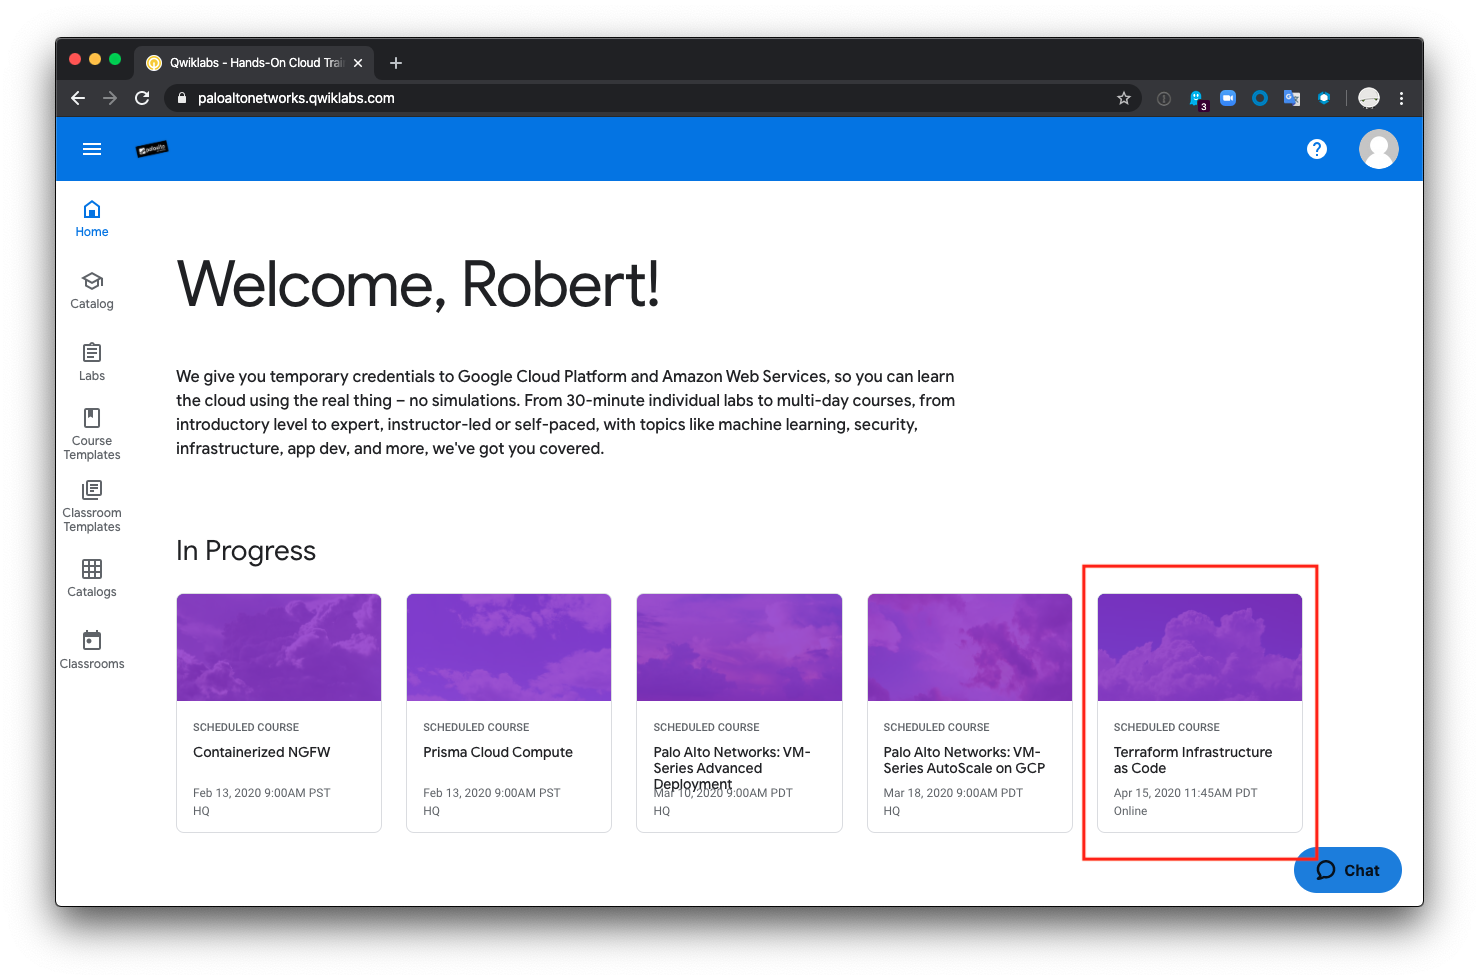
Launch the lab environment
Confirm that the course containing the phrase Terraform Infrastructure as Code is listed under In Progress on the welcome screen. Click on the this course in order to add it to your My Learning inventory.
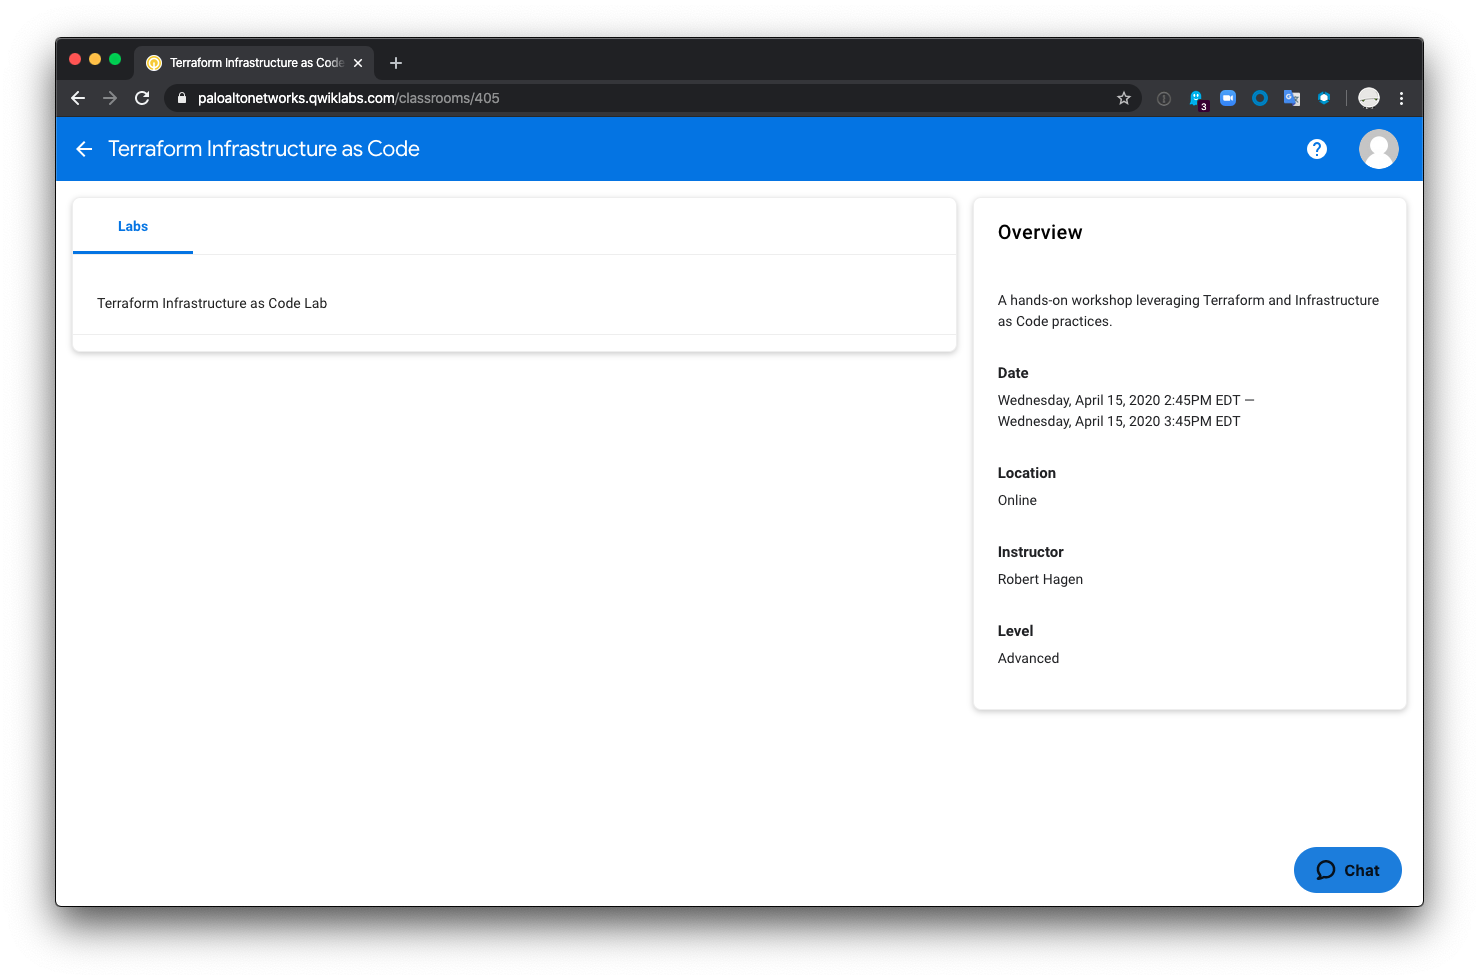
You will will be directed to a screen containing the available labs. Click on the Terraform Infrastructure as Code Lab.
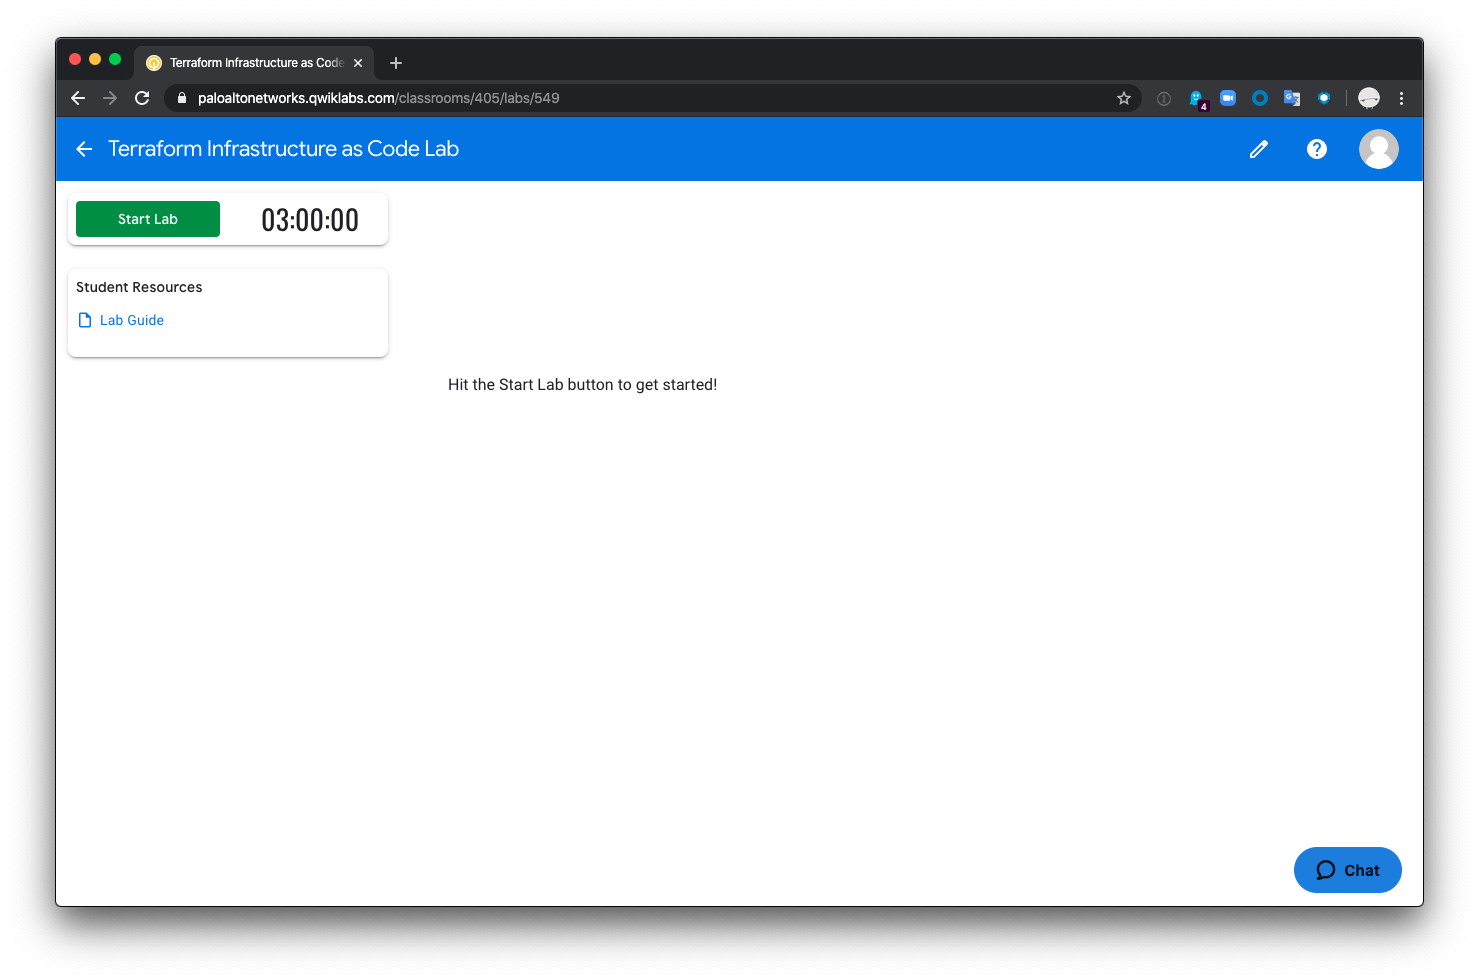
You will be presented with a lab evironment screen, you will need to click the Start Lab button. Qwiklabs will then provision a set of account credentials for GCP.
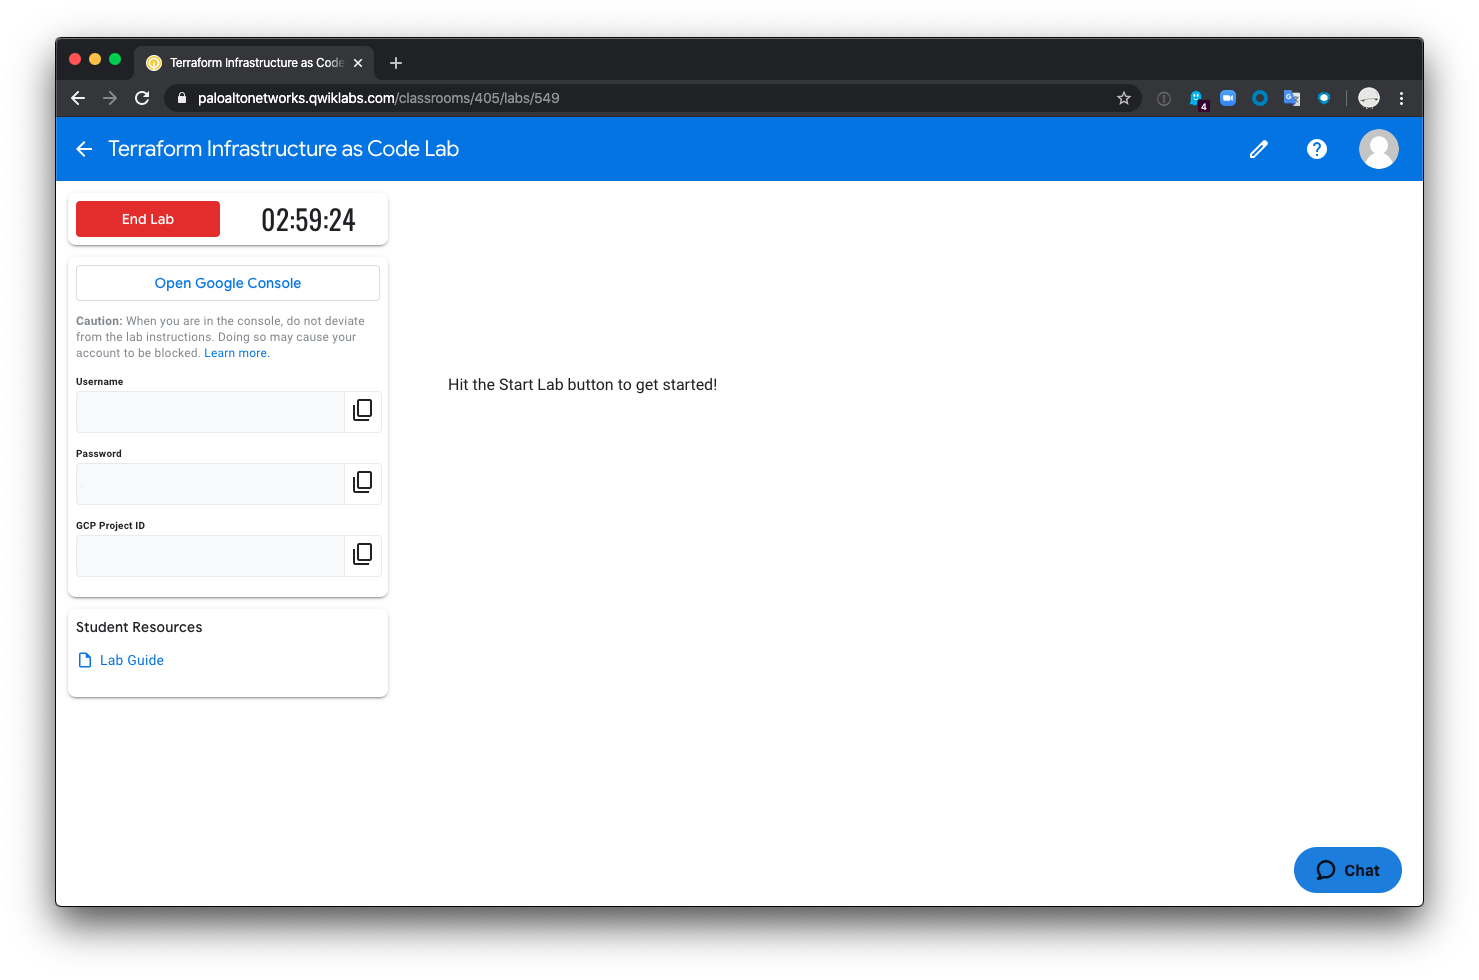
The lab environment will take a few minutes to provision. Once it is completed, a set of GCP credentials will be added to the lefthand panel.
Log into Google Cloud
Click on the Open Google Console to launch a new browser tab and log into GCP. Be sure to use the credentials provided by Qwiklabs rather than your personal Google account. This will ensure that you are not charged for any infrastructure that you deploy.
Once you’ve authenticated, accept the user agreements and account recovery defaults. You will then be presented with the Google Cloud dashboard.

Warning
Continue on with the lab in the Launch the Cloud Shell section.
Setup - Personal Account
Create a GCP project
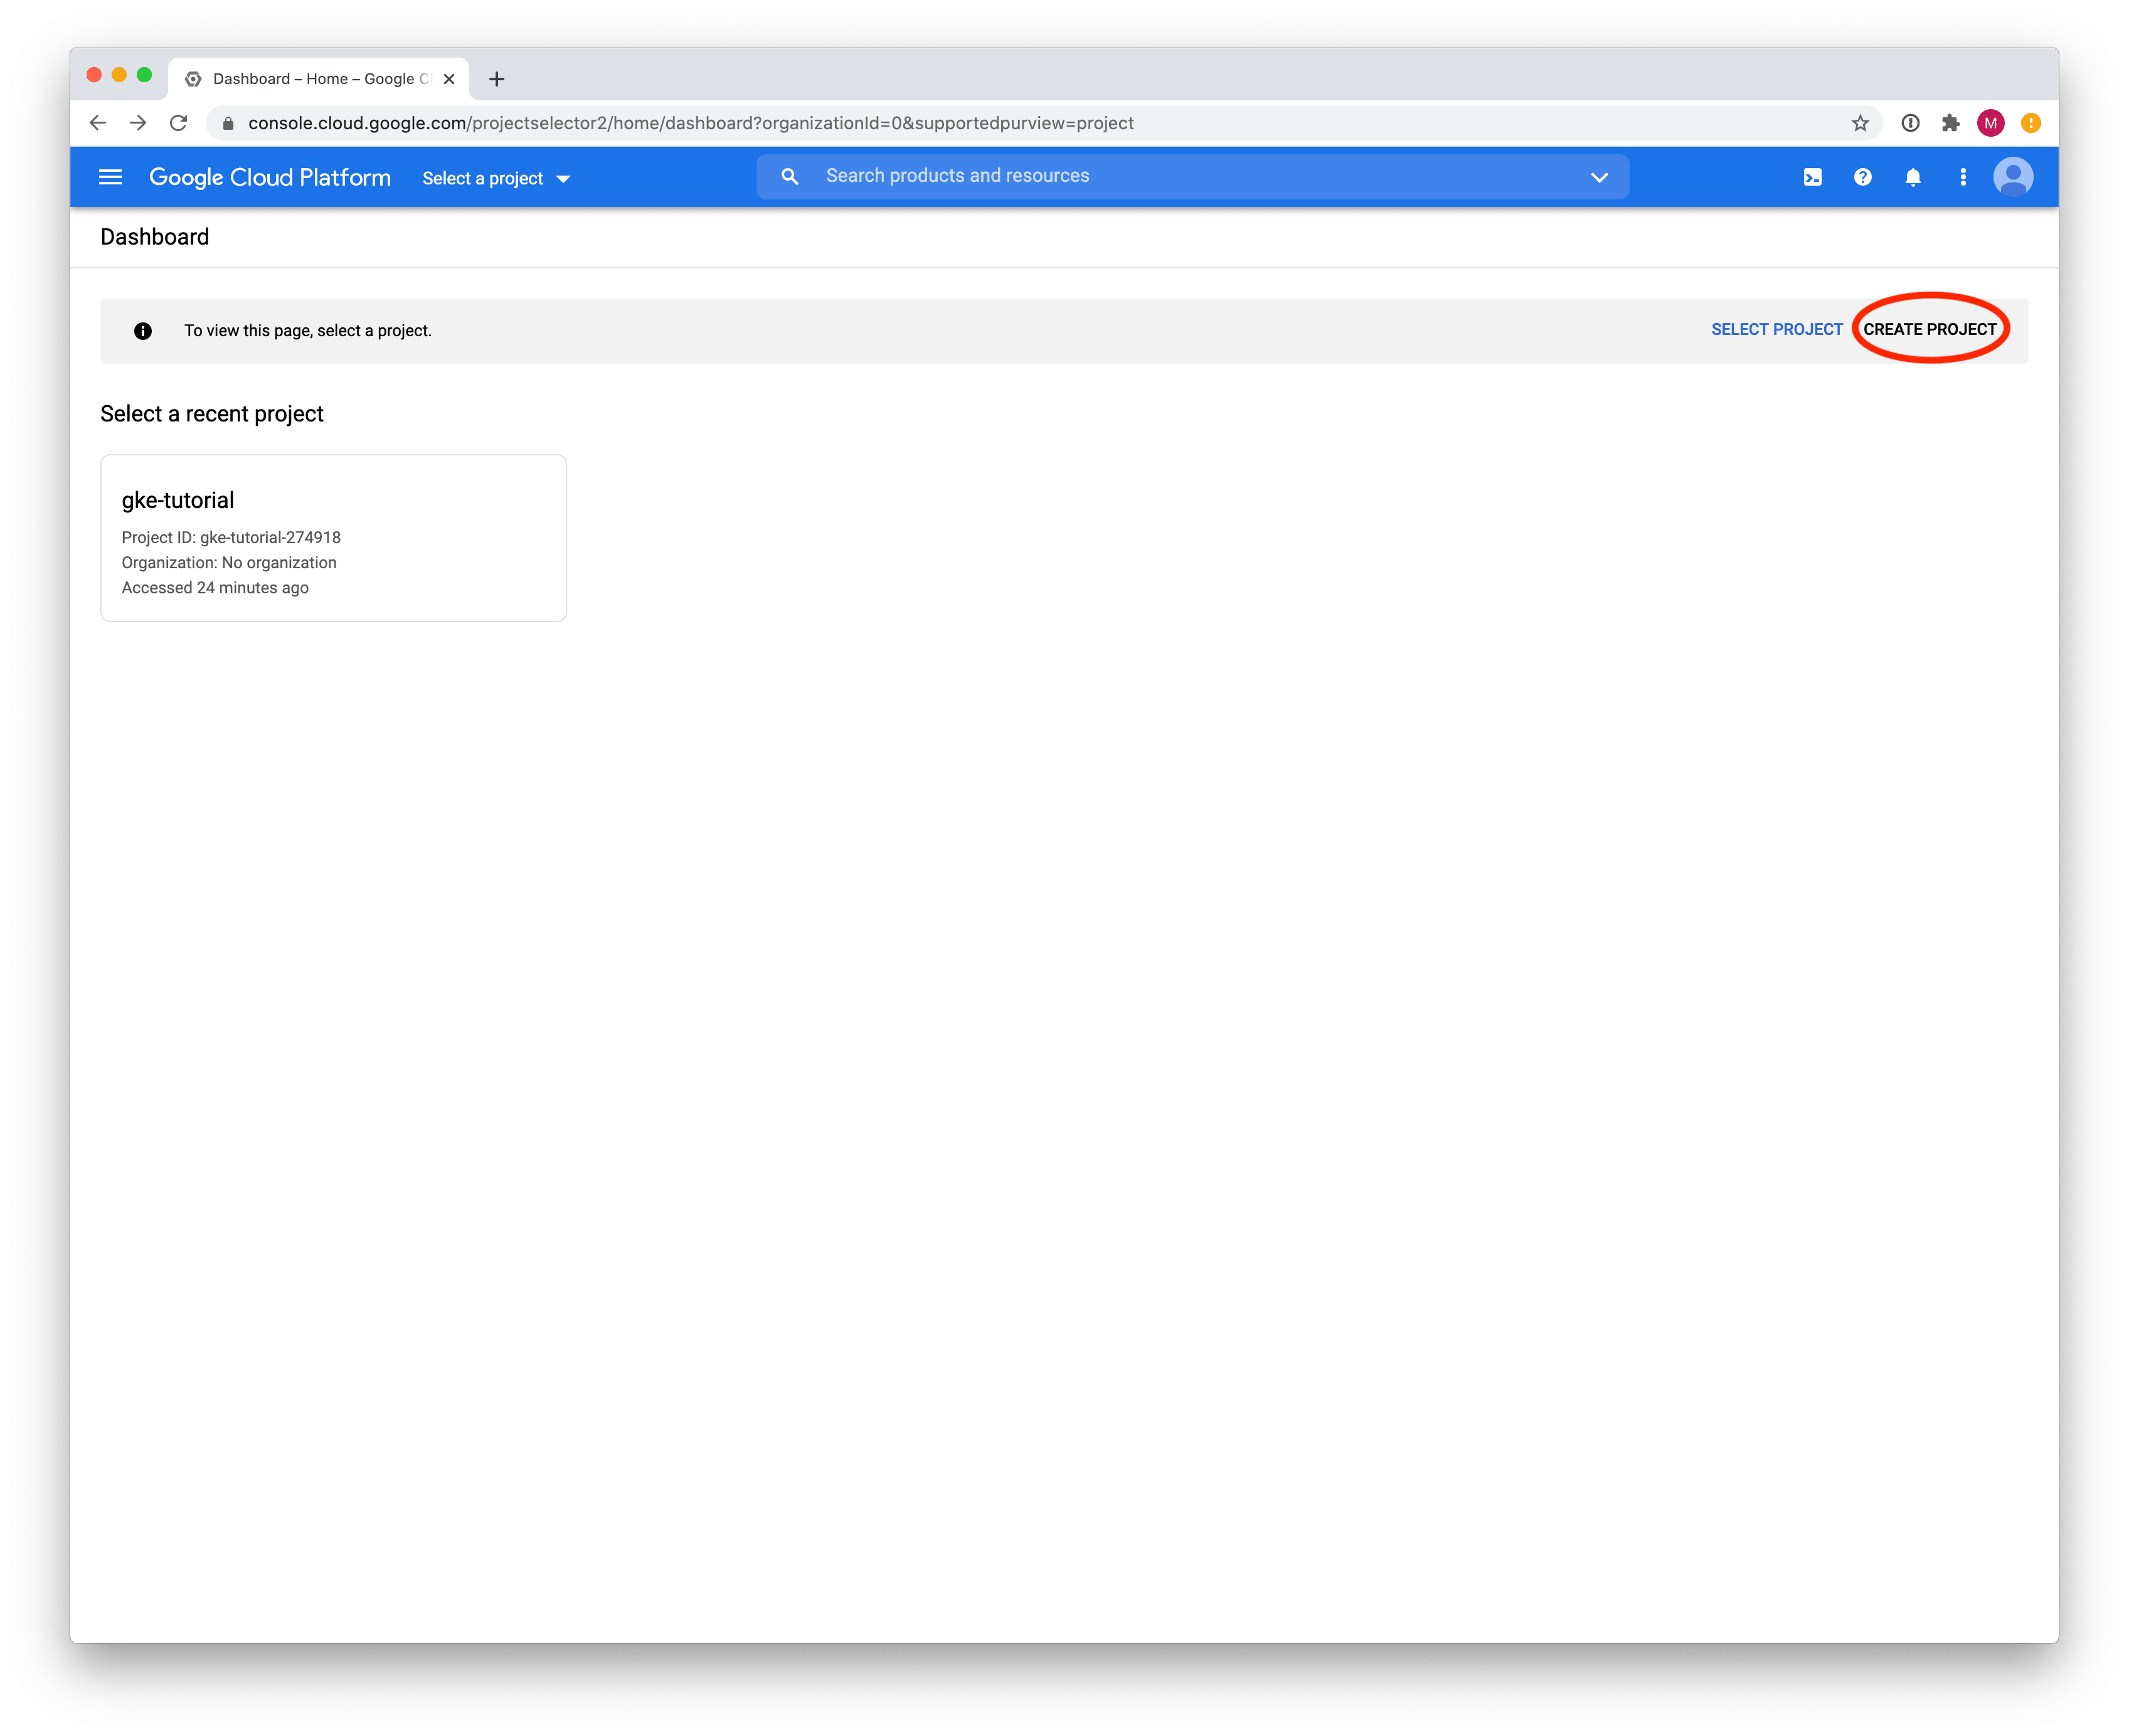
Log into the GCP console, and click Create Project to create a new project.
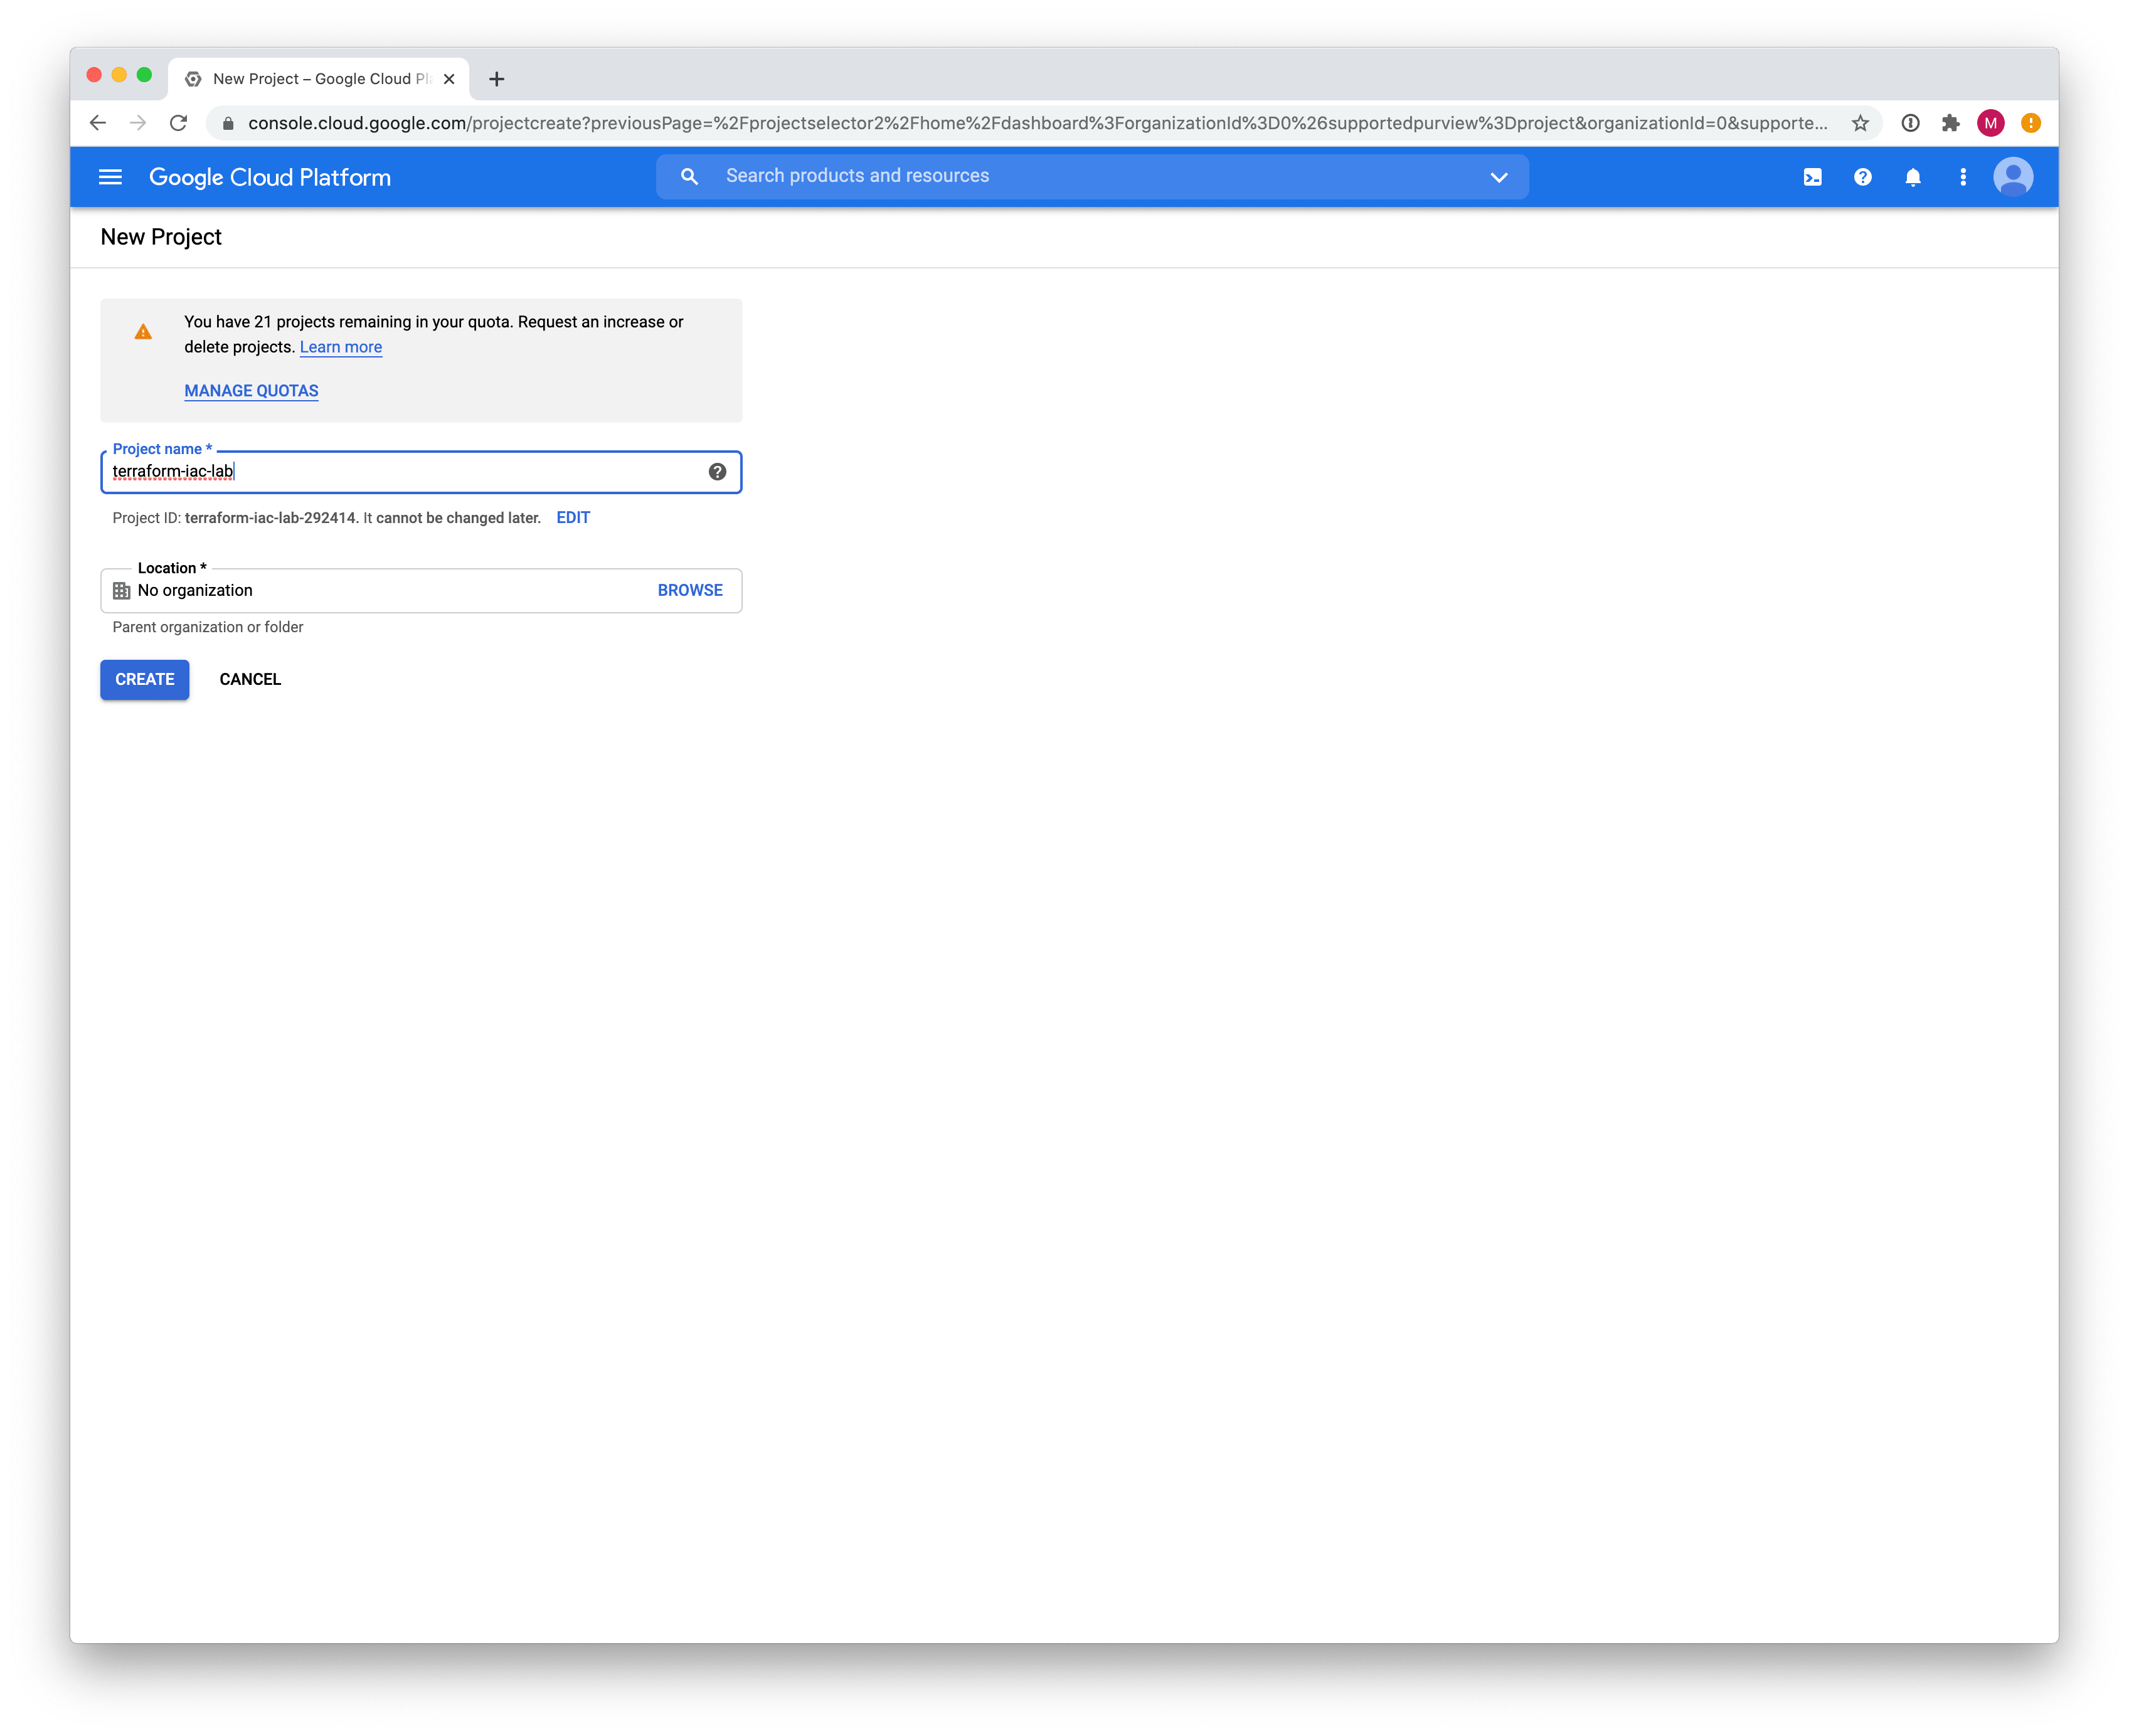
Give your project a unique name, and click Create.
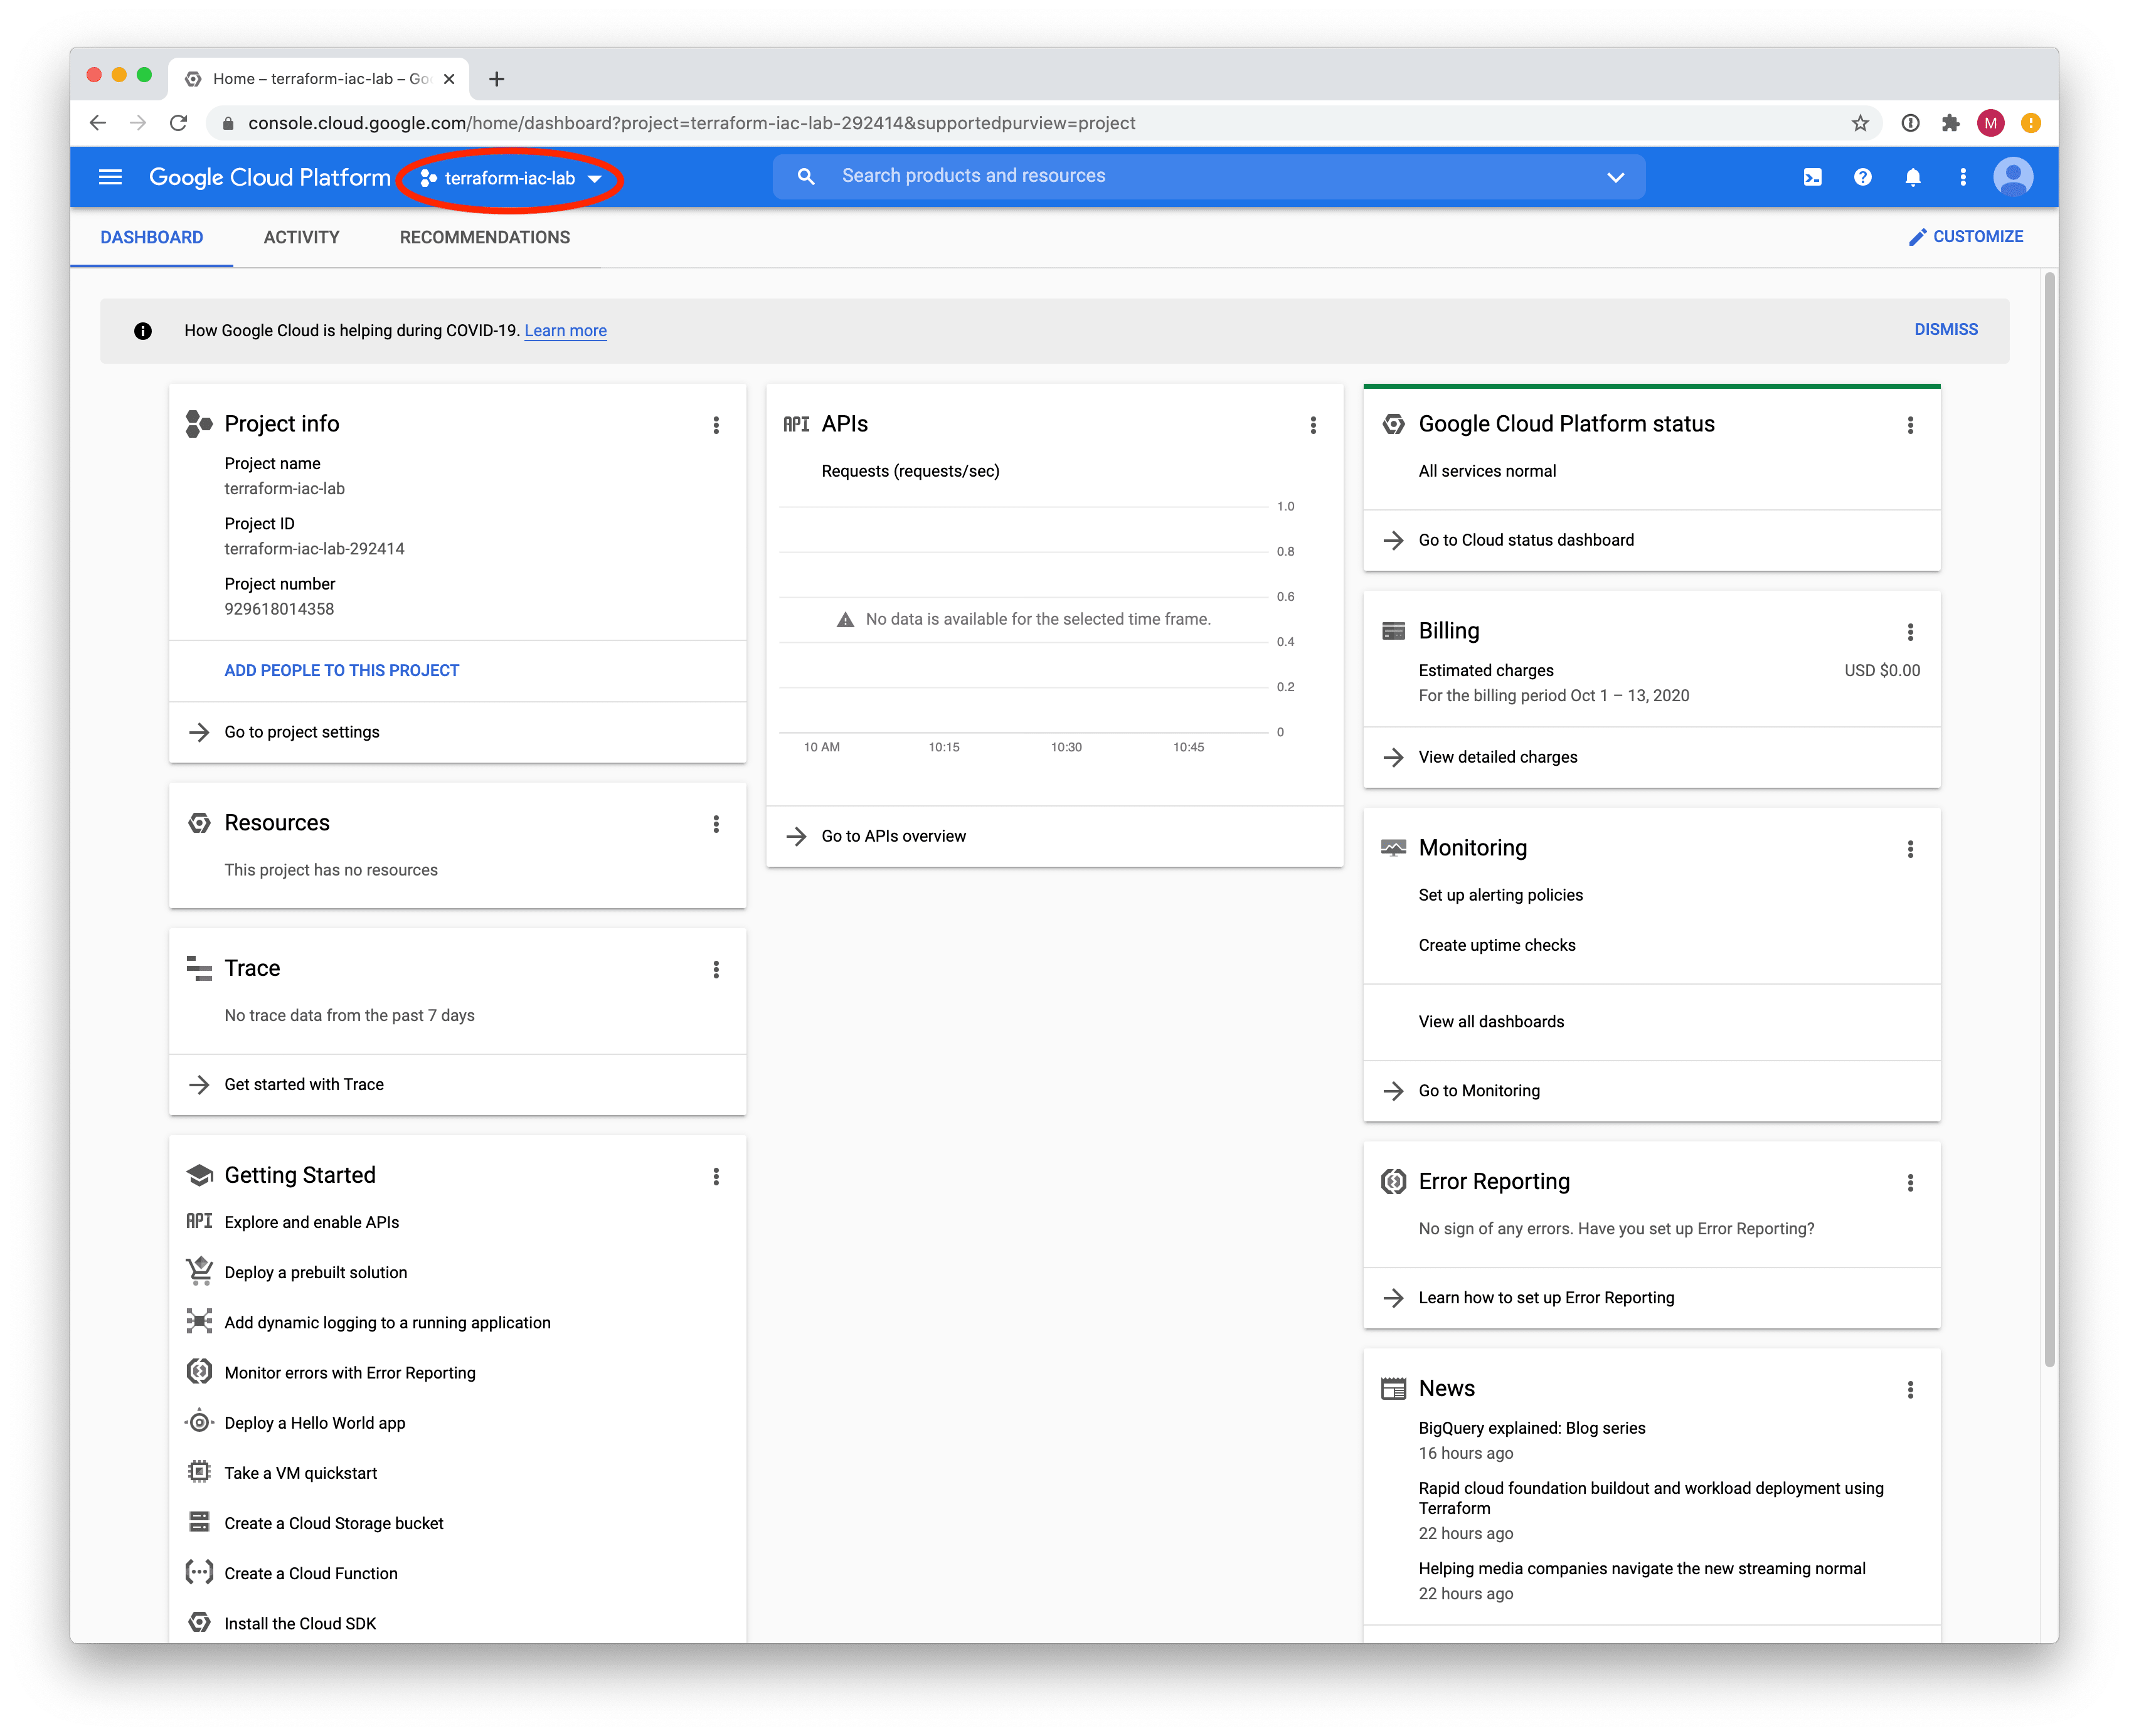
Make sure your project is selected at the top of the console.
Enable Compute Engine API
Now, enable the Compute Engine API for this project. From the menu, select APIs & Services > Library.

Search for Compute Engine API, then click on it.
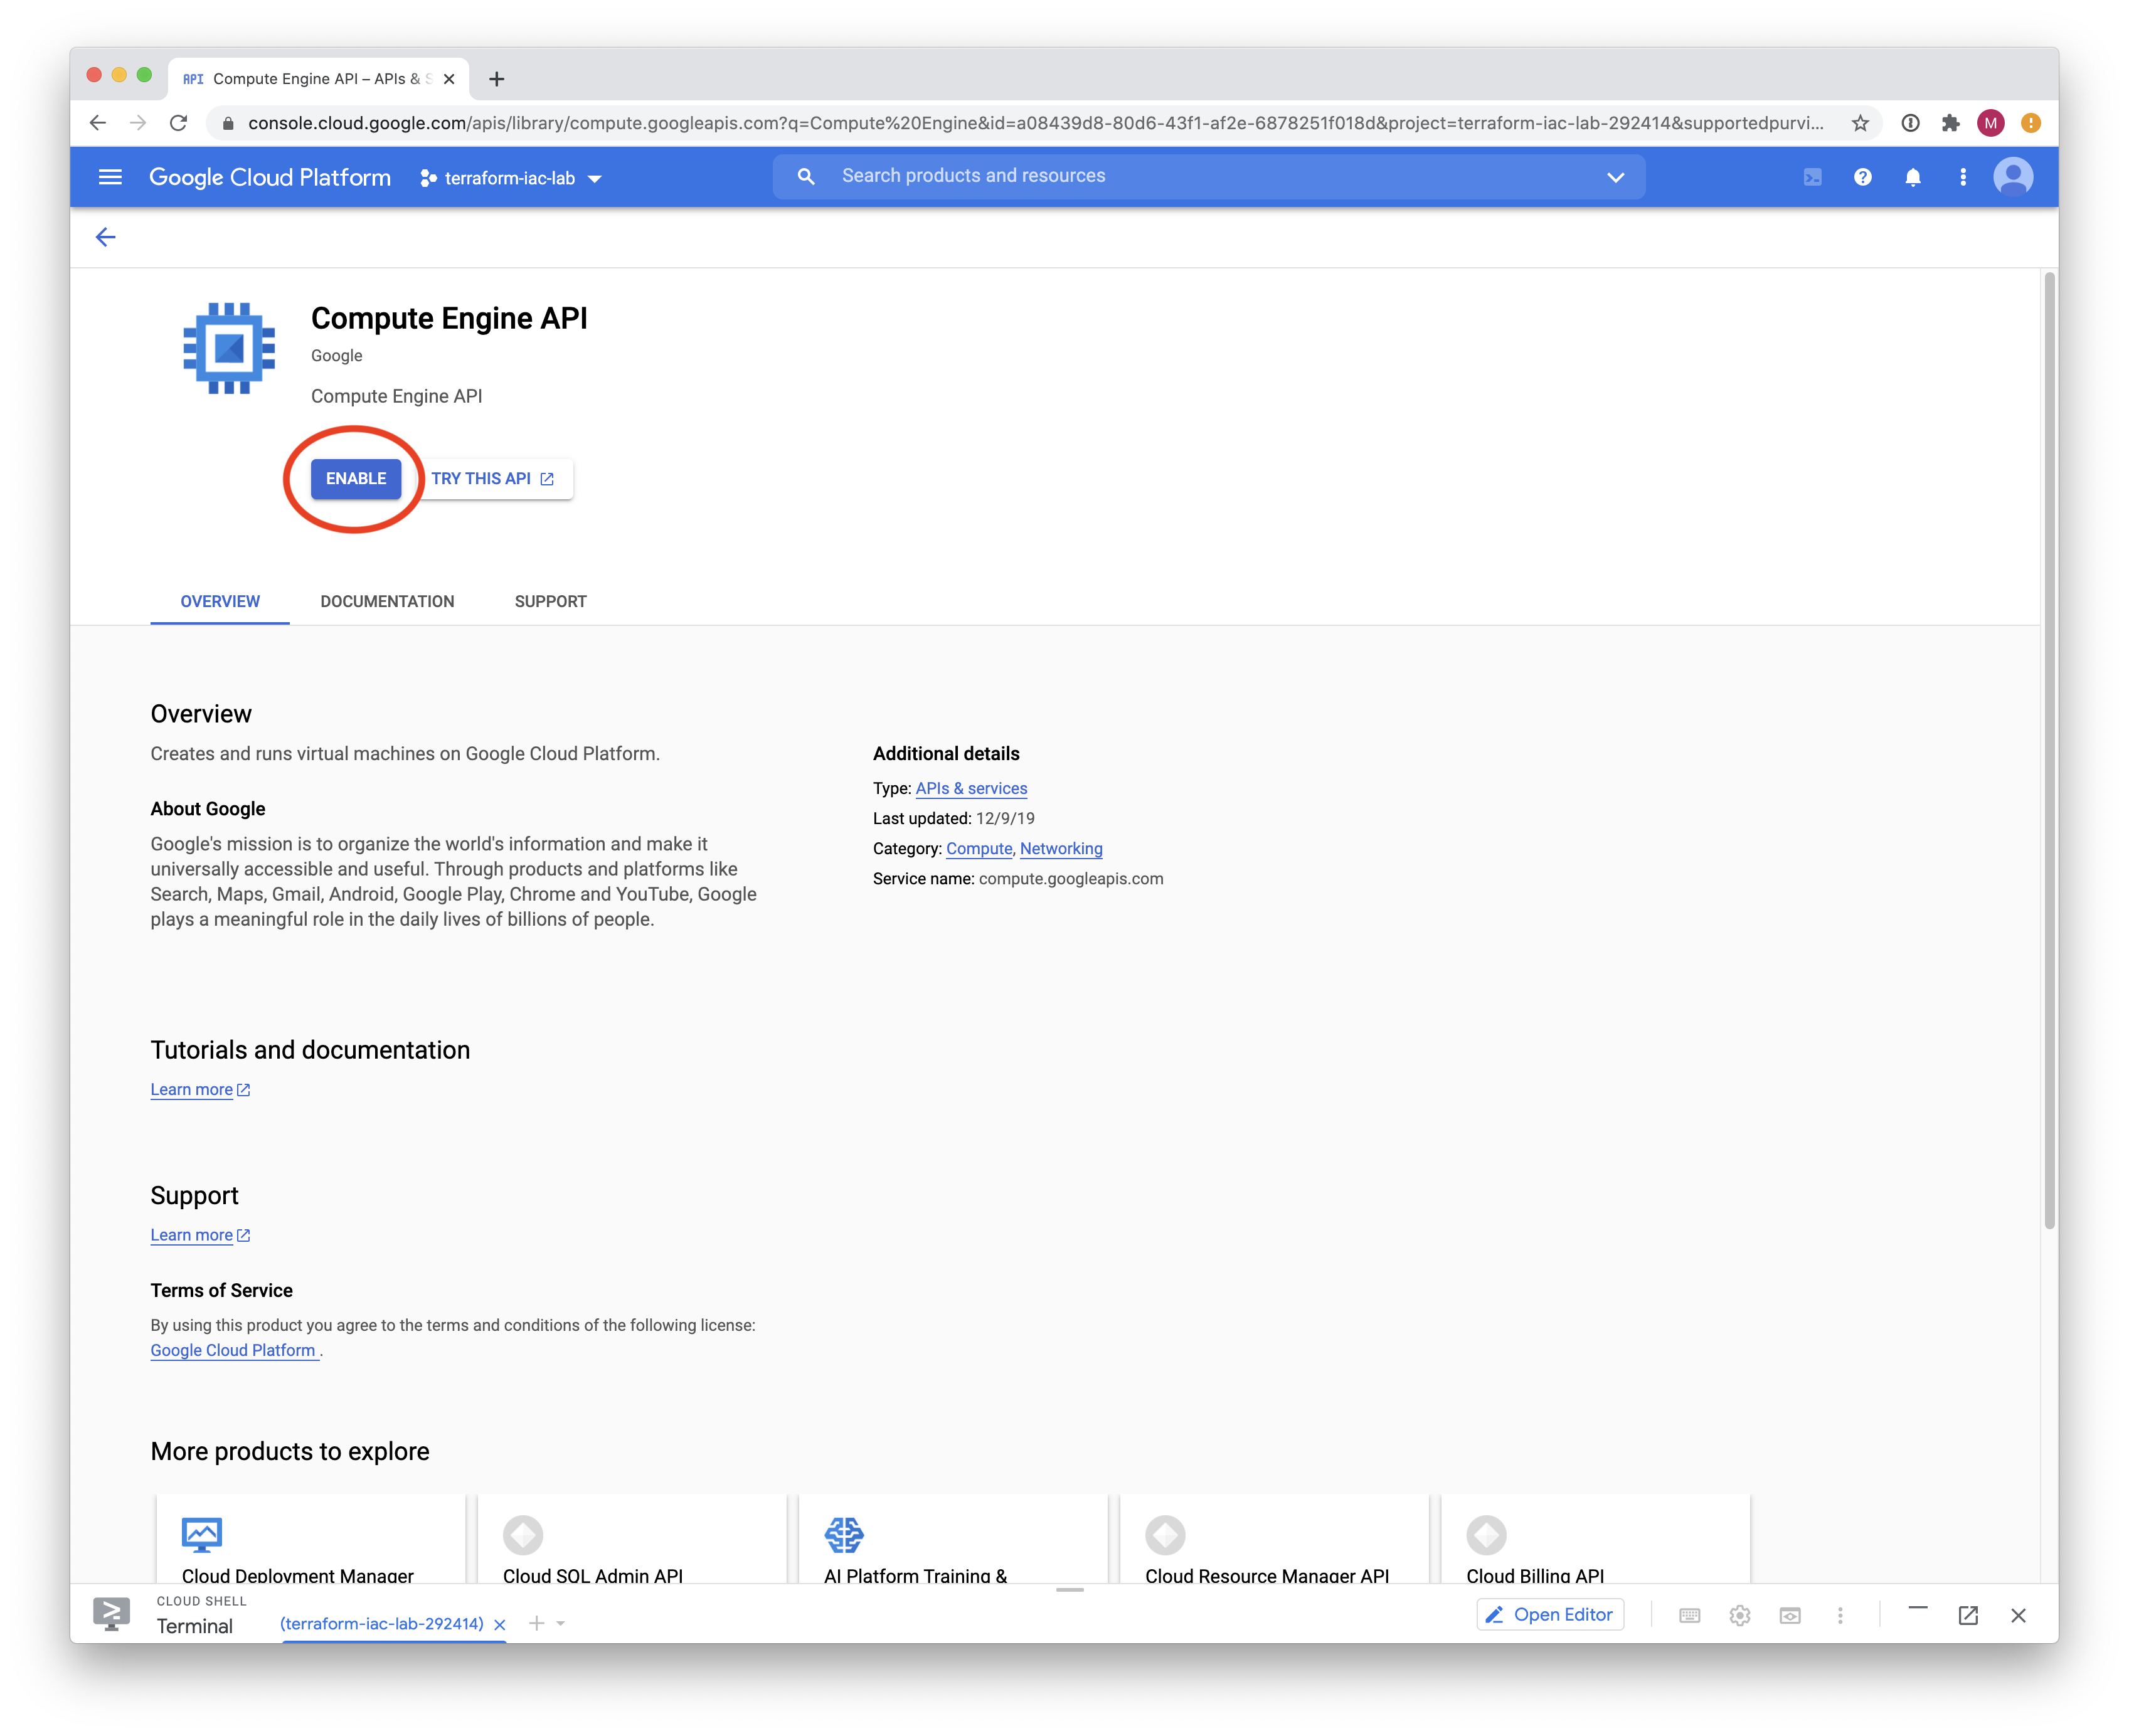
Finally, click Enable to enable the API. It will take a few minutes to fully activate.
Warning
Continue on with the lab in the Launch the Cloud Shell section.
Launch the Cloud Shell
In the upper right corner of the dashboard, click on the shell prompt icon labeled Activate Cloud Shell to launch a Cloud Shell instance. This is an on-demand Linux shell that contains many of the tools that will be used in this lab. The Cloud Shell instance is where you will be working throughout the lab.

Clone the lab software repository
Once you are presented with the Cloud Shell prompt you will need to clone the GitHub repository used in this lab. This repository (or repo) contains the files needed to deploy the network and compute infrastructure we’ll be working with.
$ git clone https://github.com/PaloAltoNetworks/terraform-iac-lab.git