Getting Started
In your created GCP project, click the Cloud Shell button in the top right corner. This will launch a shell session in a persistent container, giving you full shell access for your project. It also comes with a number of useful tools pre-installed. Using Cloud Shell for this lab ensures firewalls or VPNs won’t prevent access to the management interface of your lab firewall.
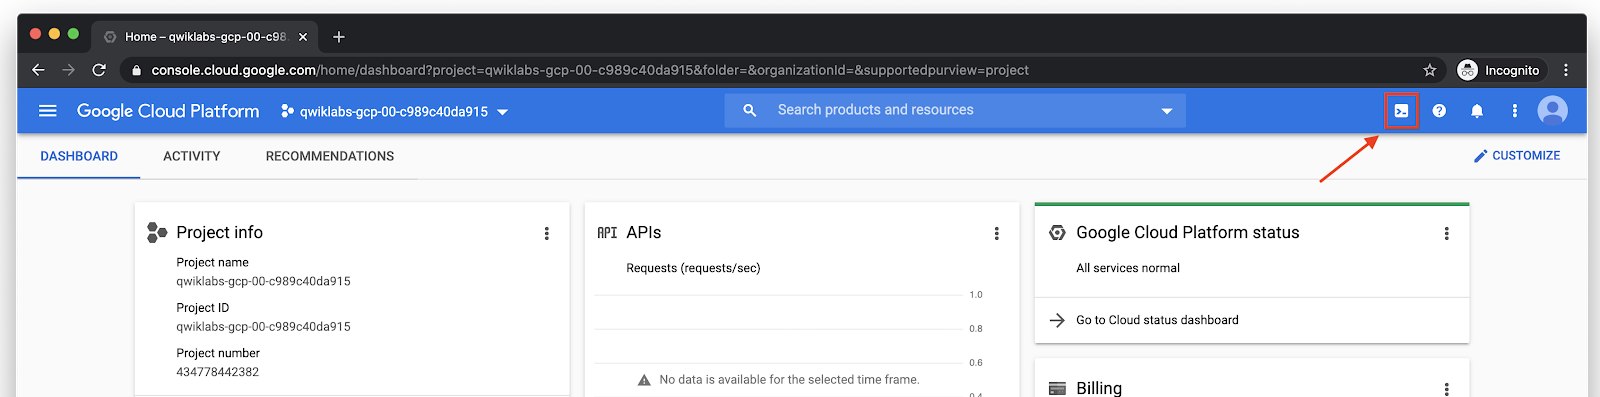
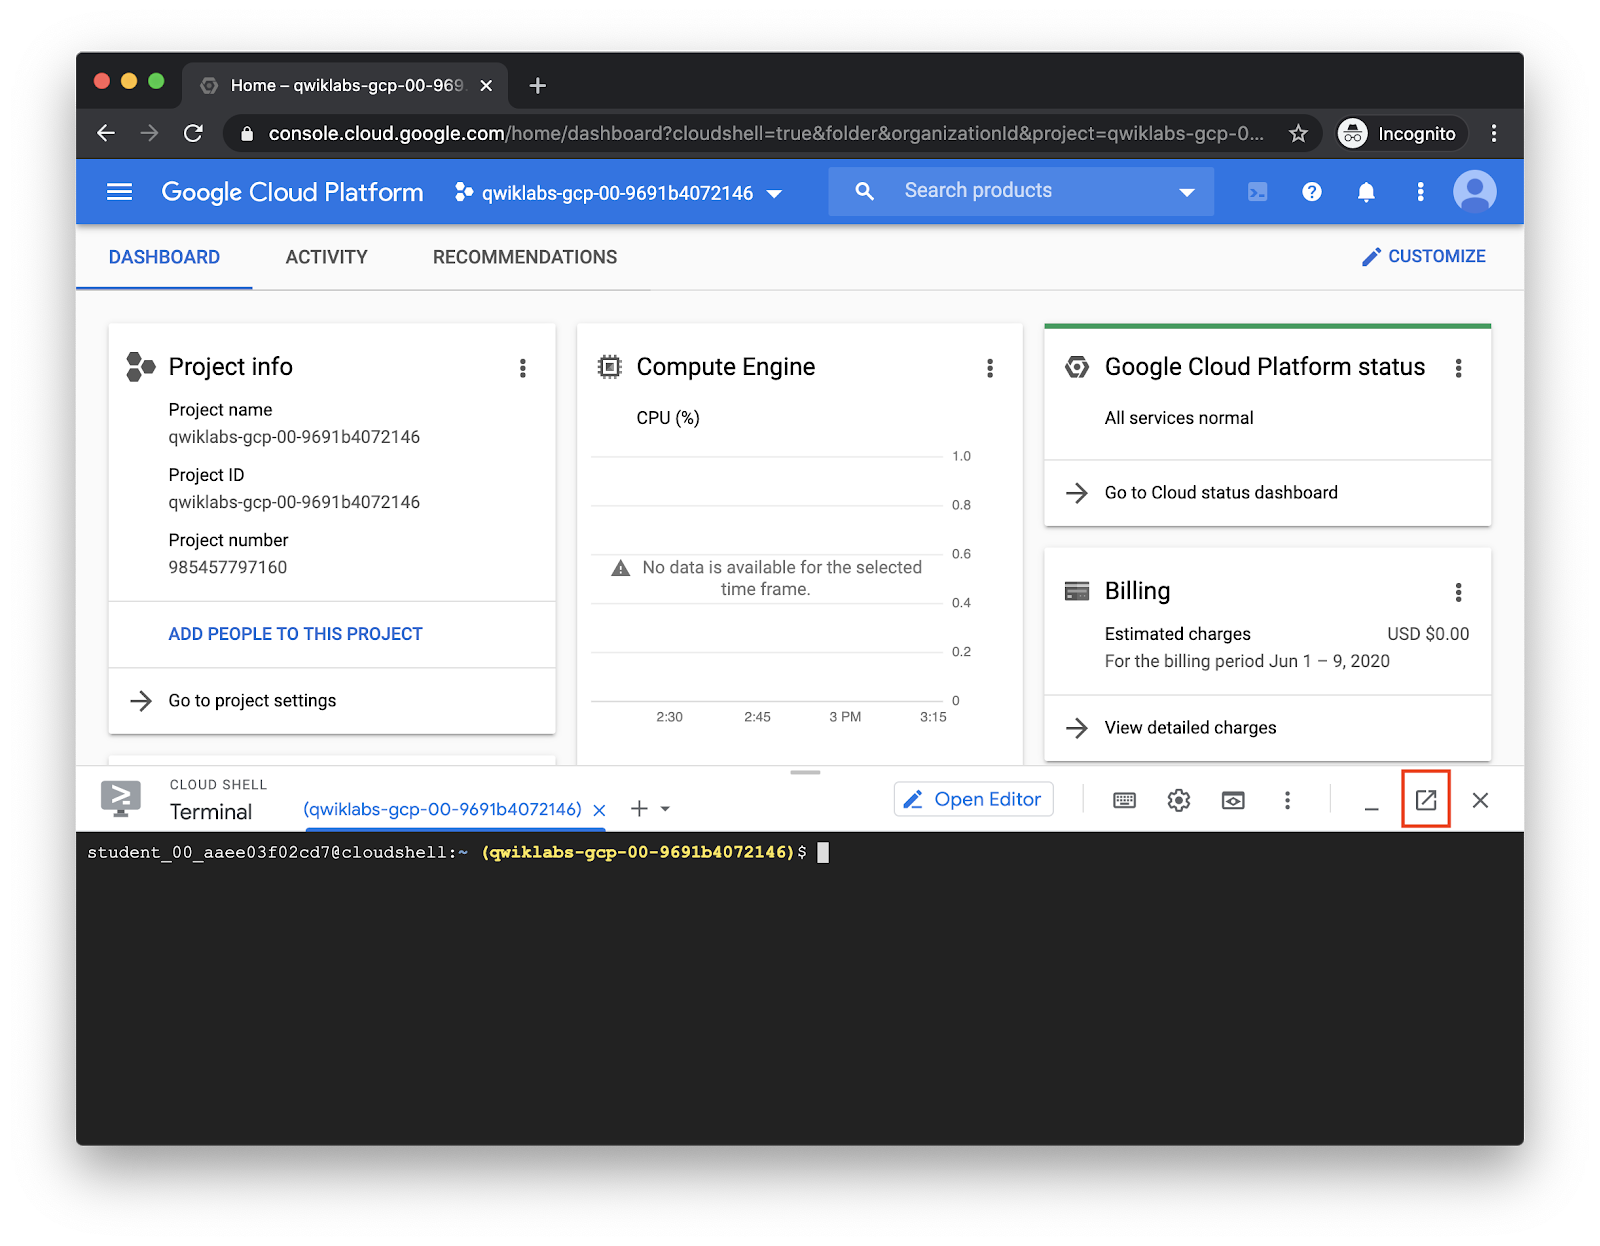
You can also click the Open in new window icon to make Cloud Shell take an entire browser tab.
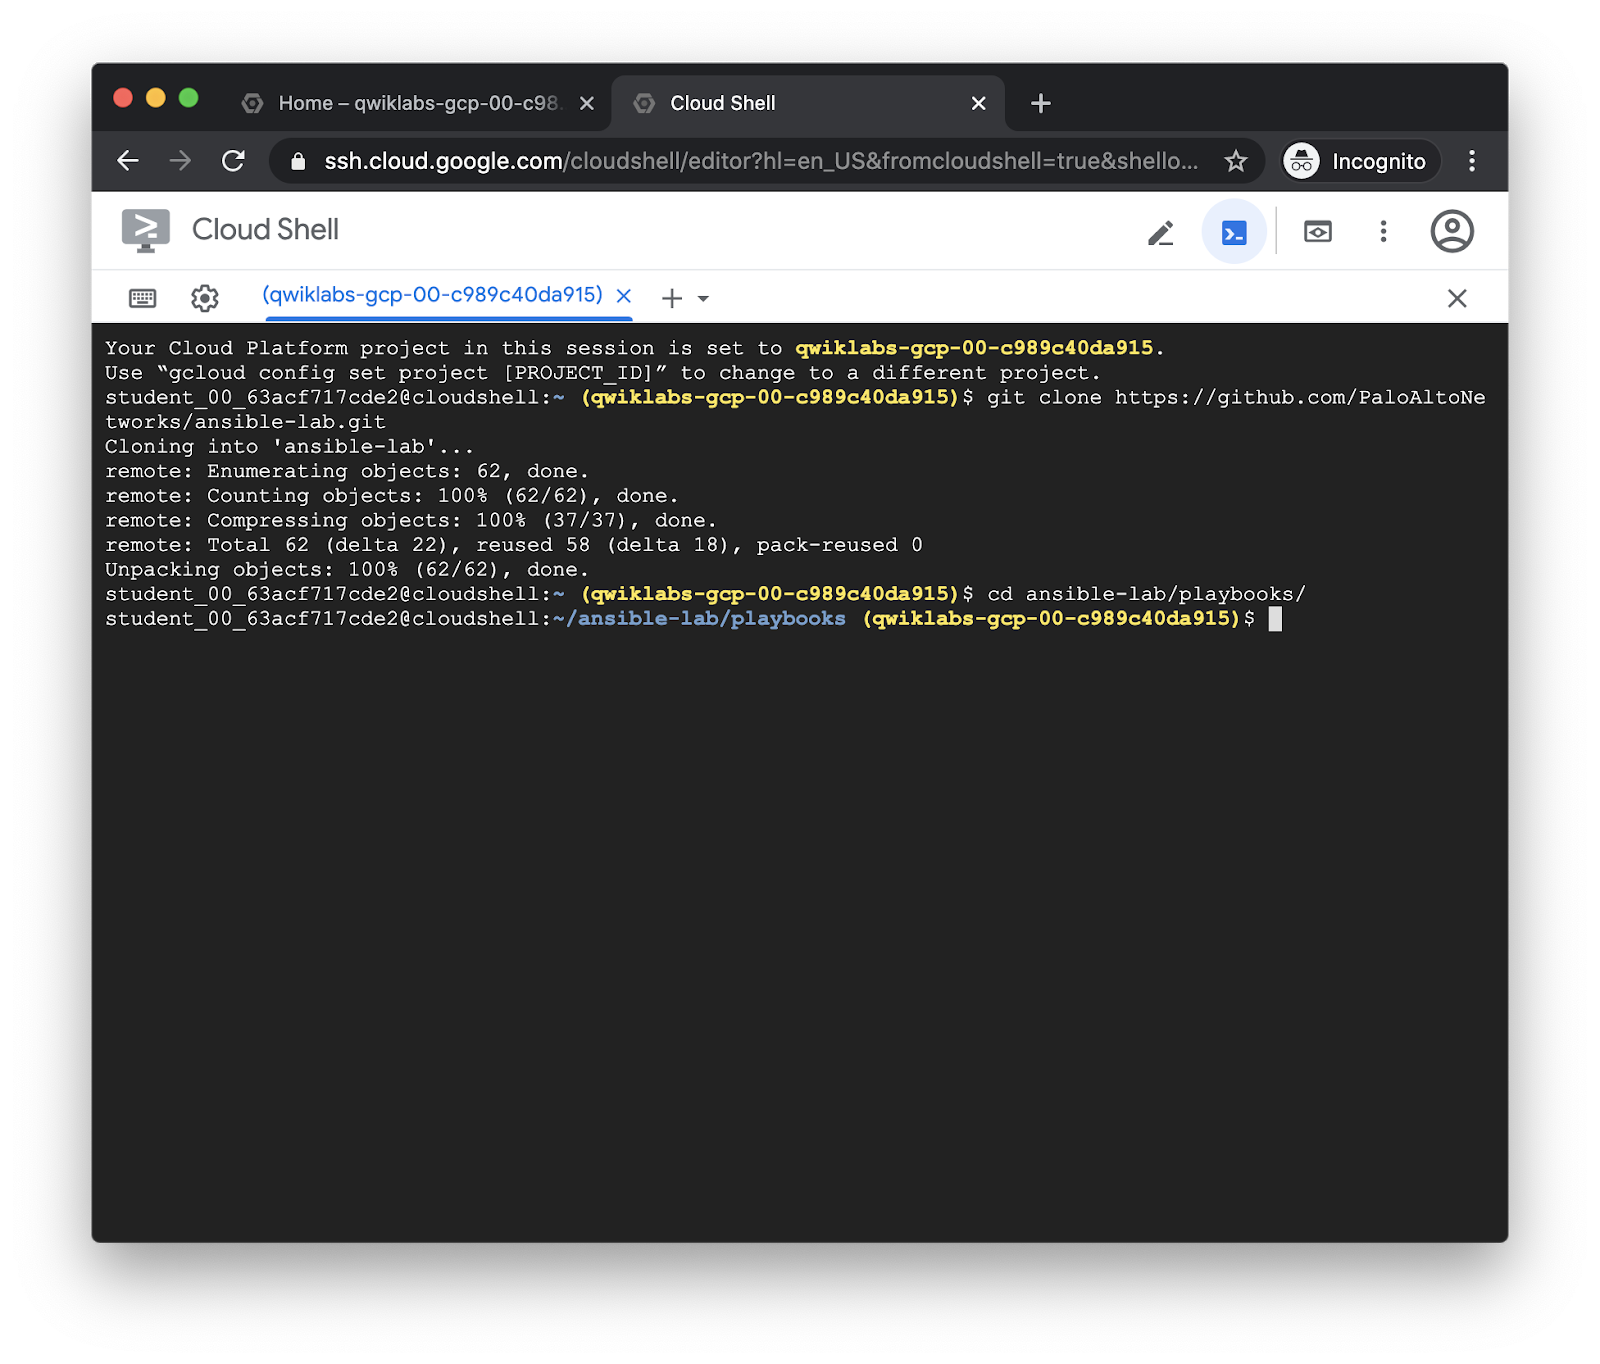
Clone the repository containing our sample playbooks from GitHub, and change into the playbooks directory:
git clone https://github.com/PaloAltoNetworks/ansible-lab.git
cd ansible-lab/playbooks
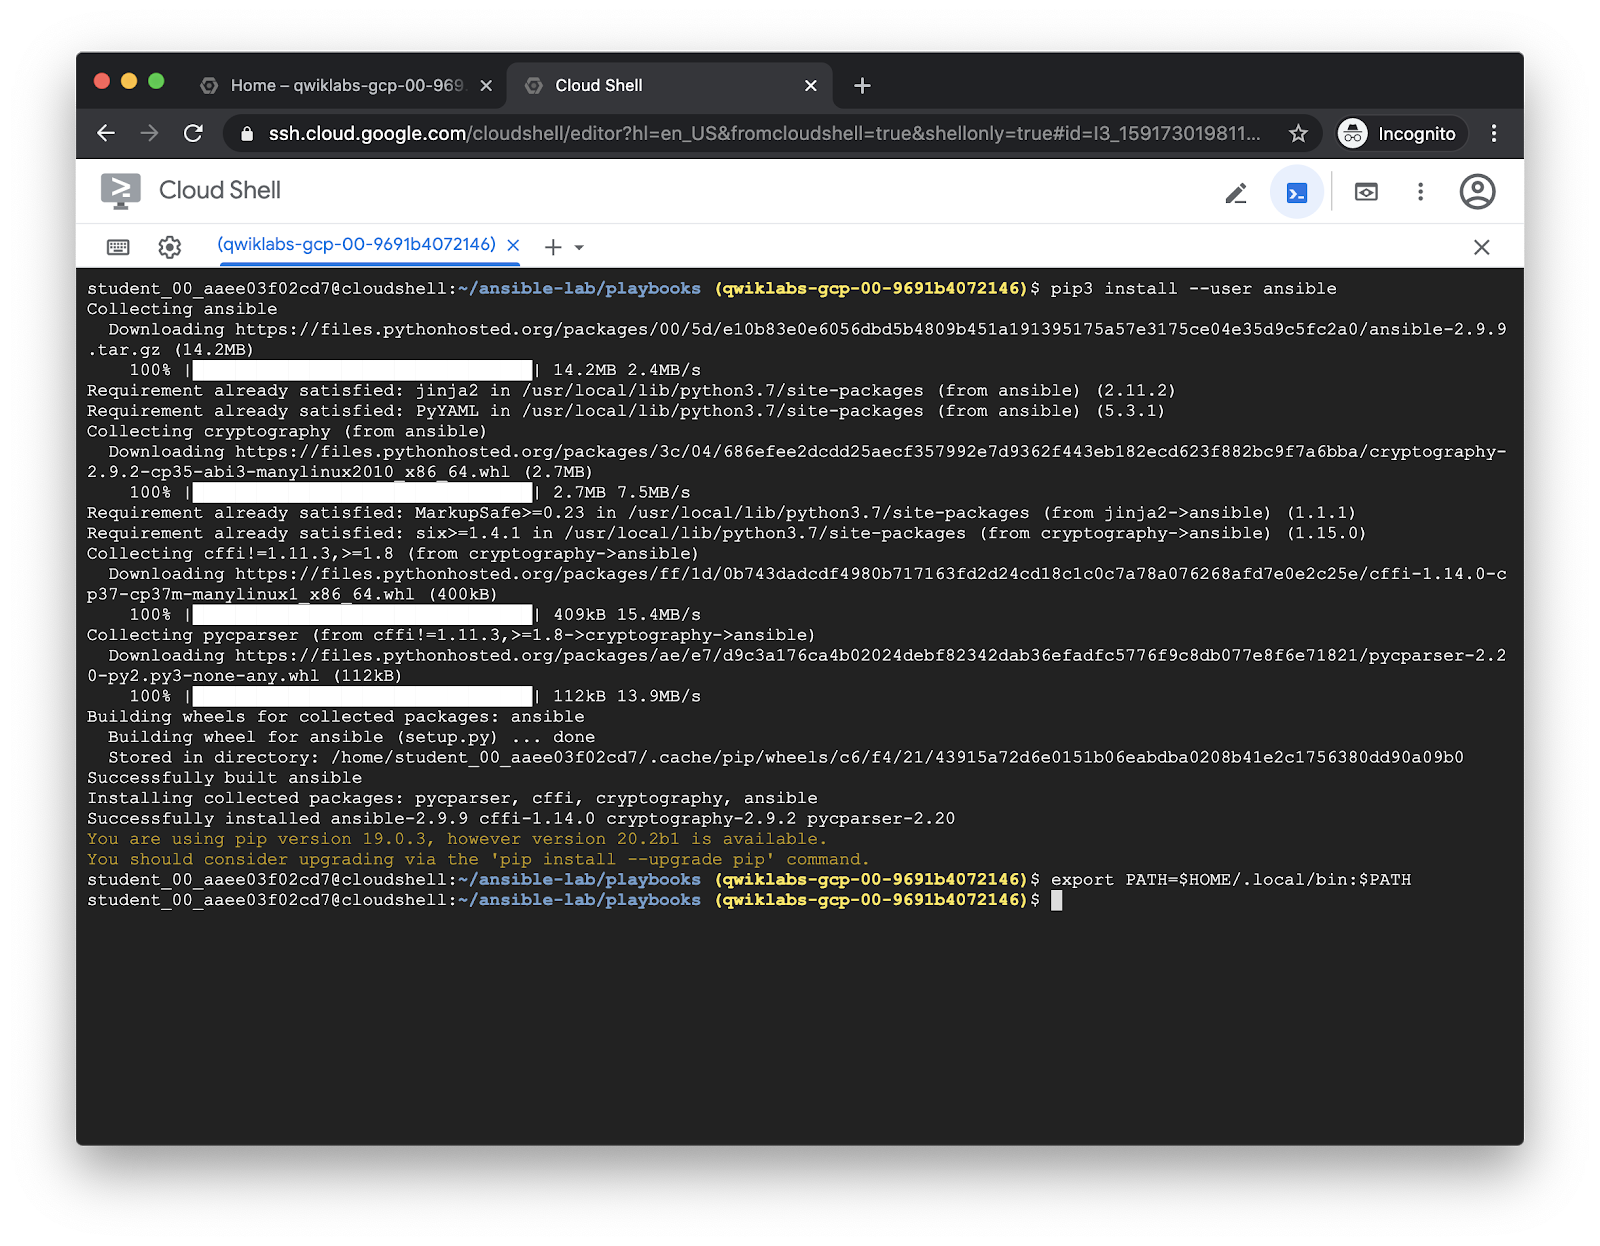
Ansible does not come installed by default in the Cloud Shell environment, so install it and add it to your shell’s PATH.
pip3 install --upgrade pip
pip3 install --user ansible
export PATH=$HOME/.local/bin:$PATH
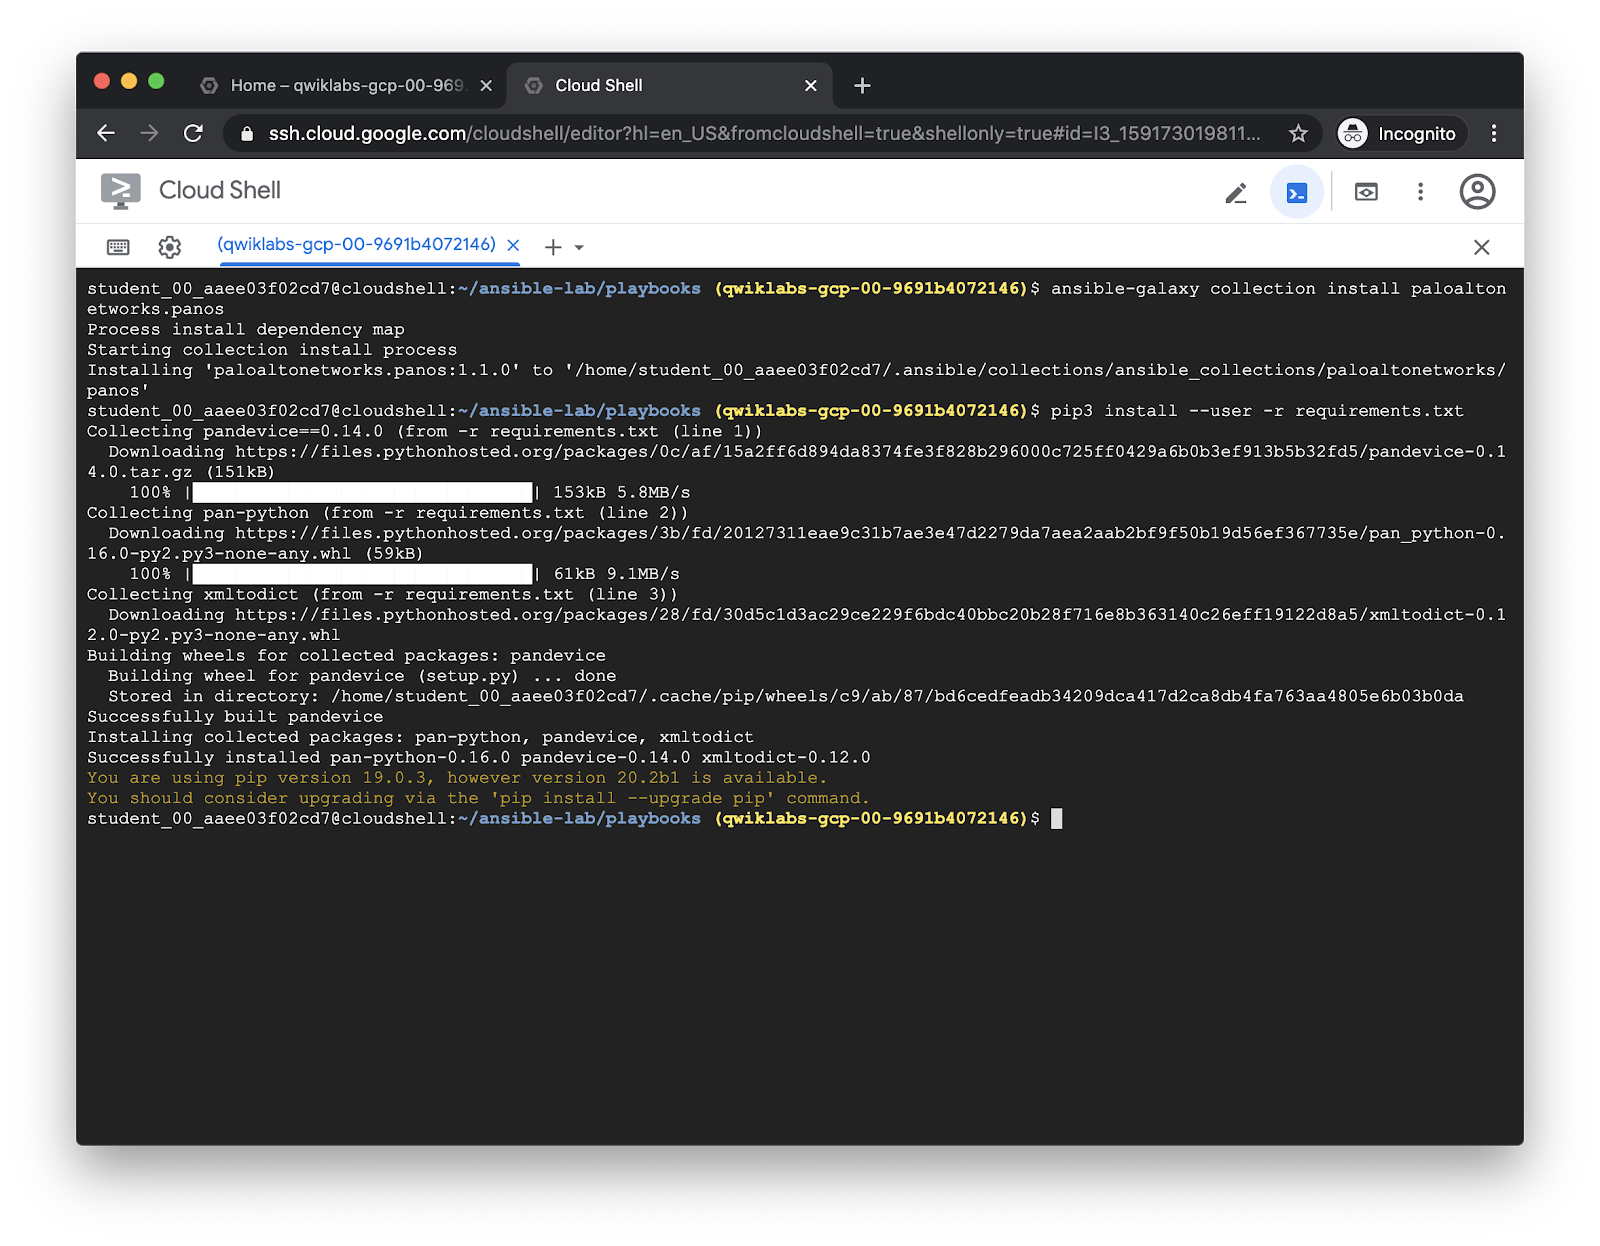
Now, install the latest version of the PAN-OS Ansible collection from Ansible Galaxy, and the Python libraries it depends on.
ansible-galaxy collection install paloaltonetworks.panos
pip3 install --user -r requirements.txt
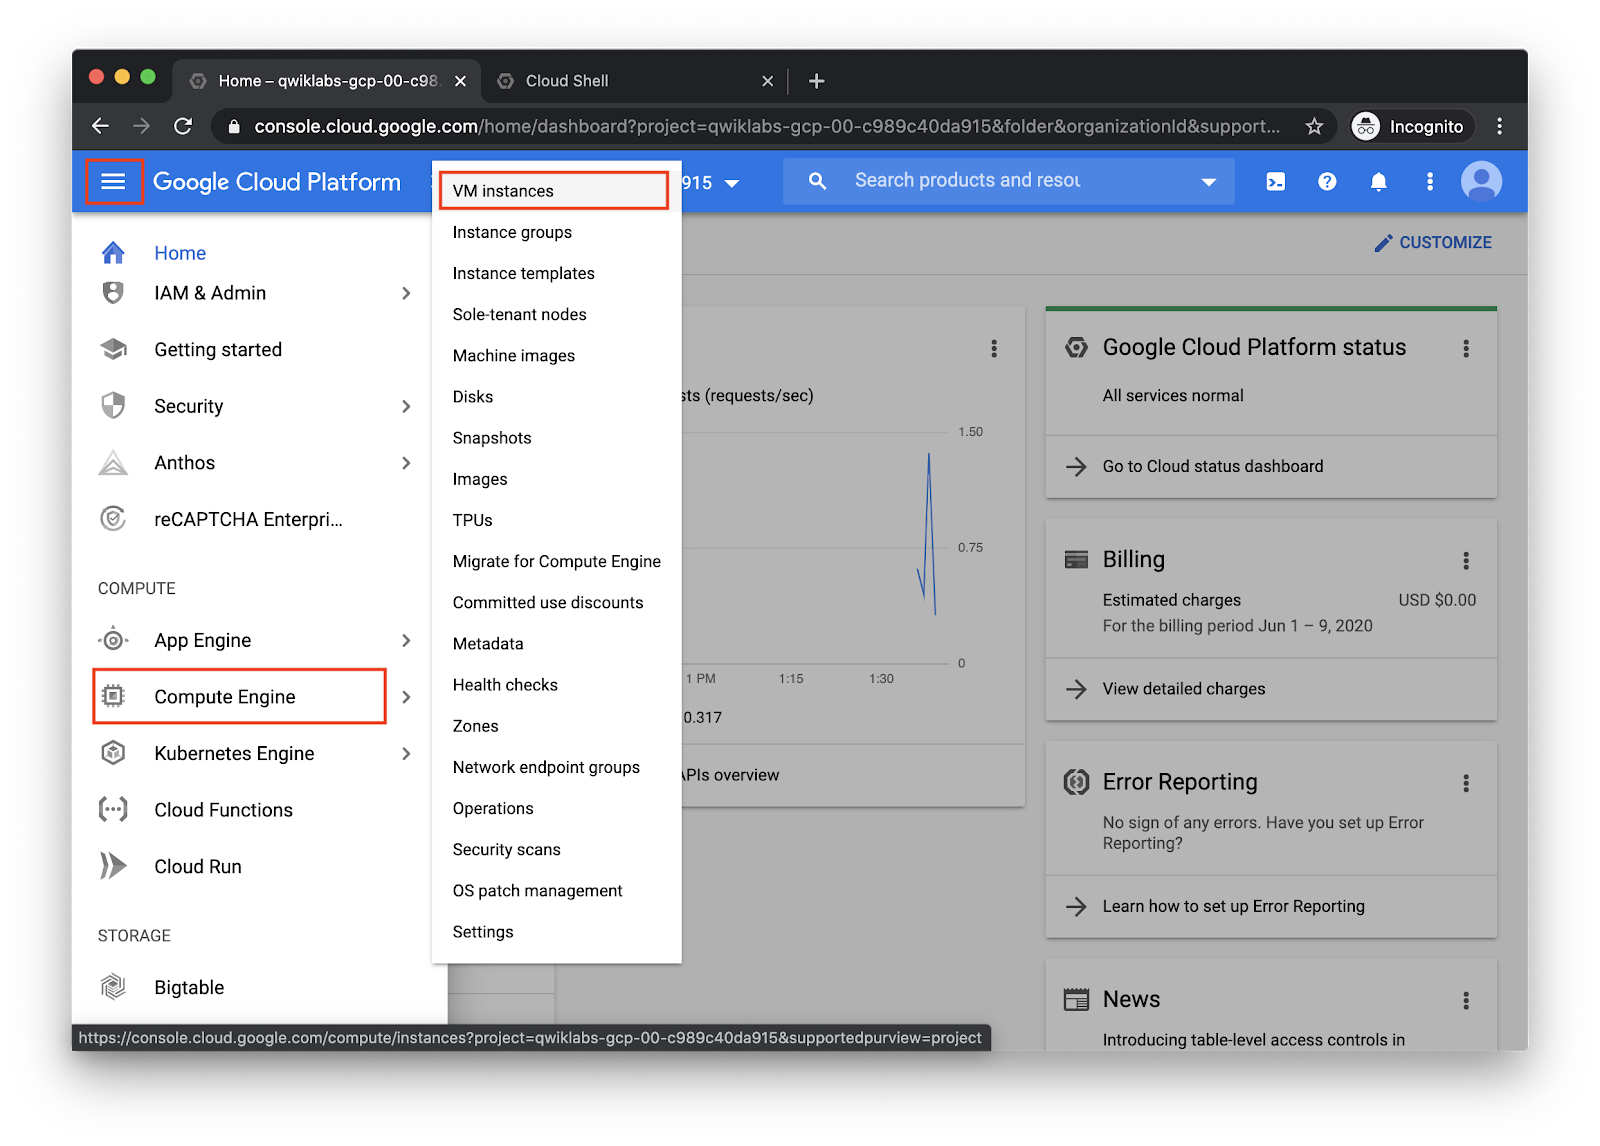
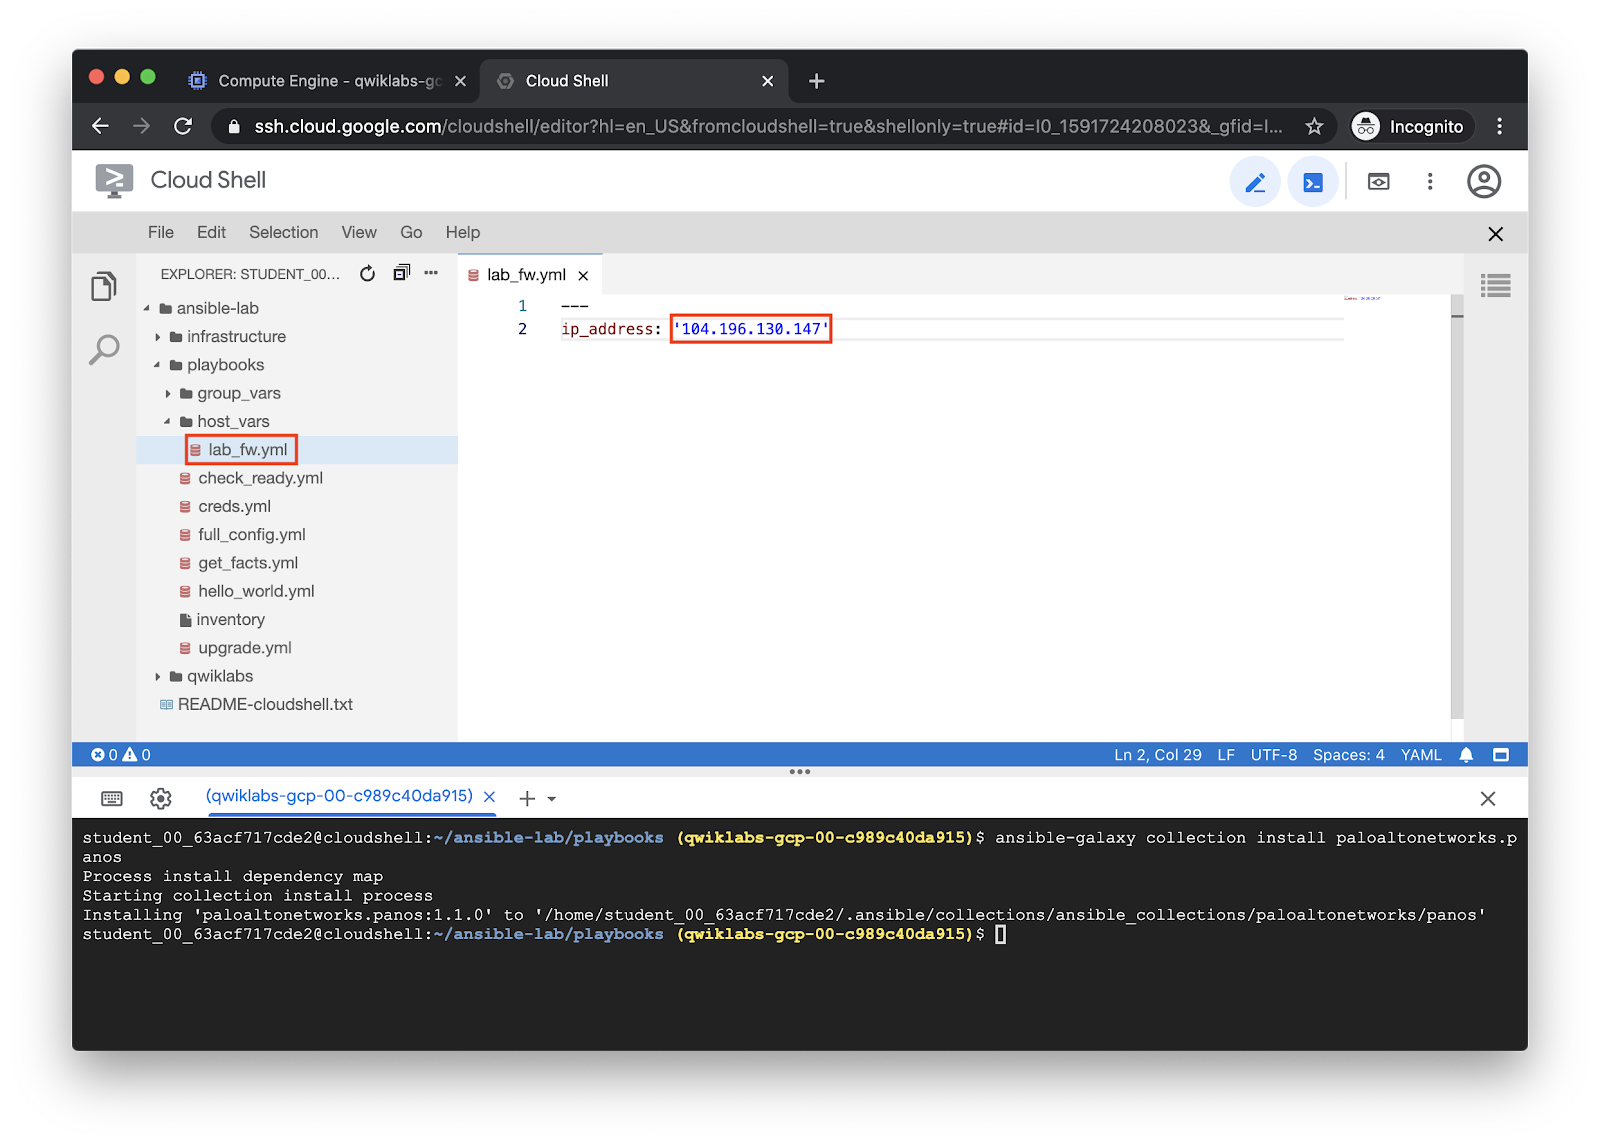
Now, you’ll need to modify the IP address in host_vars/lab-fw.yml to match the
management interface of the VM-Series that was launched for you in GCP. In the
GCP console, click on Menu > Compute Engine > VM instances.
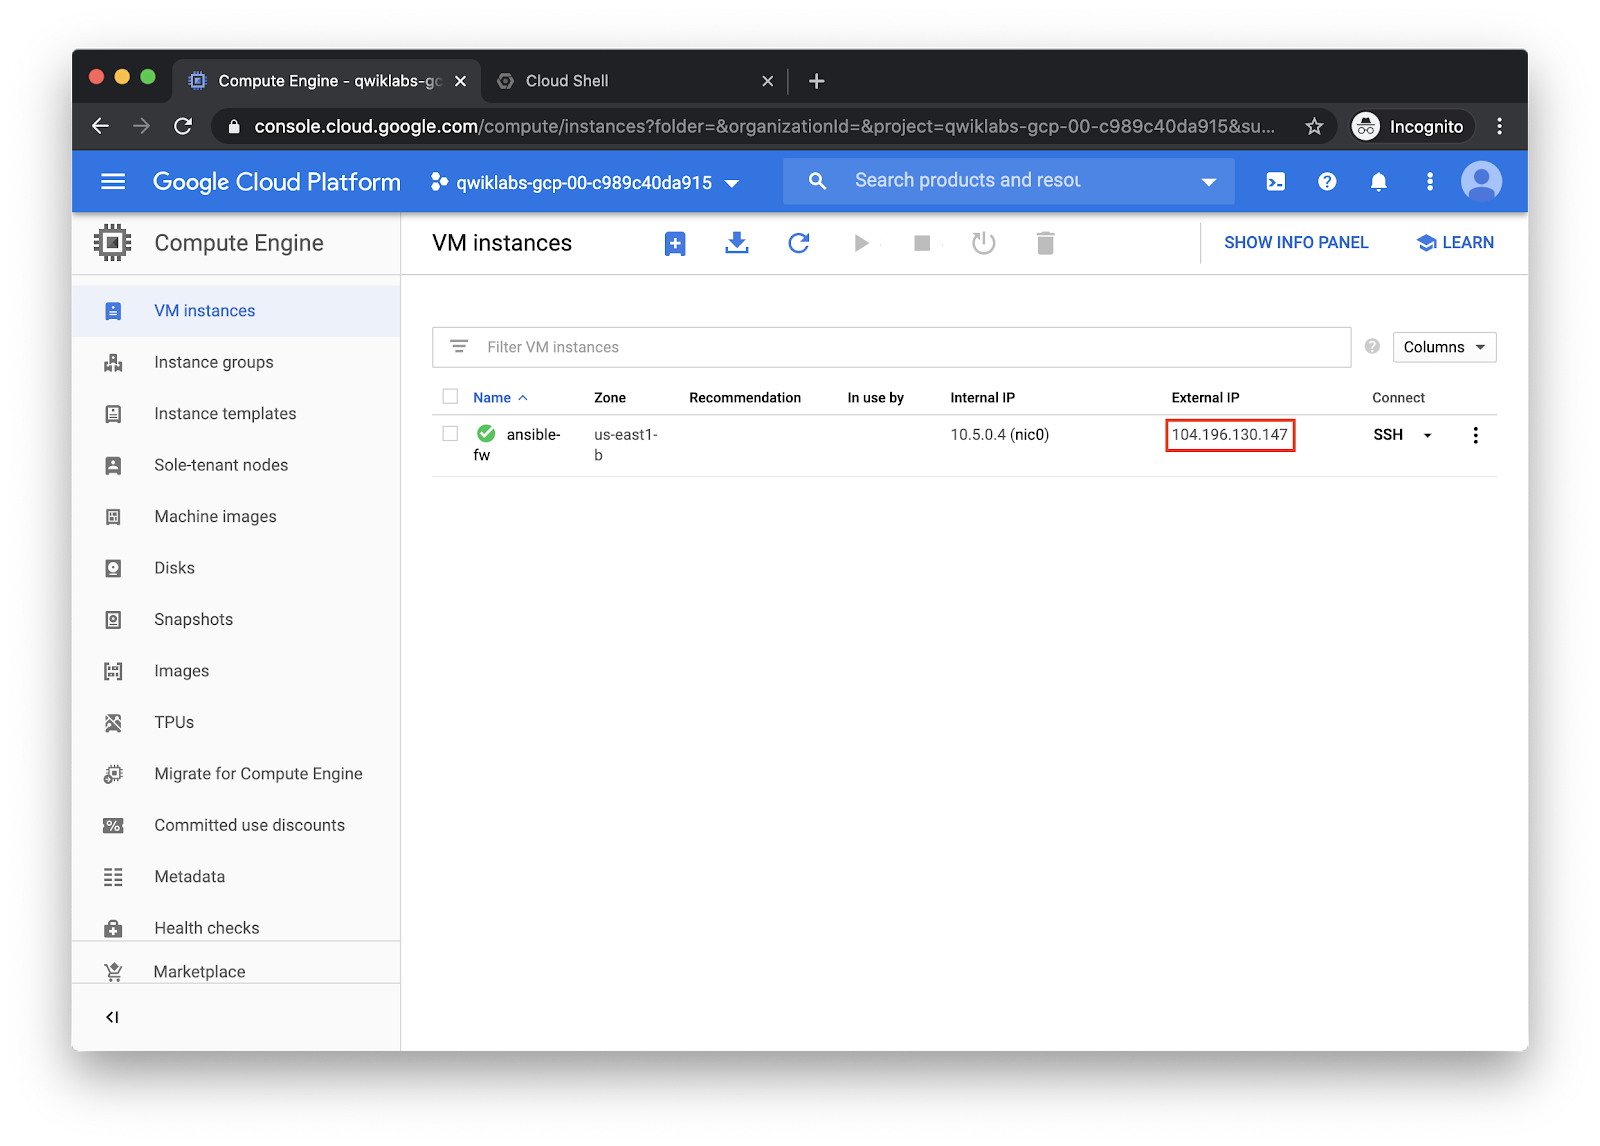
The External IP of the launched instance is the management interface IP address.
In your Cloud Shell tab, click the pencil icon to launch the Cloud Shell Editor.
Click File and Open… then navigate to the file ansible-lab/playbooks/host_vars/lab-fw.yml,
and replace the ip_address value with the IP address of your VM-Series.
Your changes to the file will be saved automatically by default.
Log in to the firewall web UI using the following credentials. It could take up to 10 minutes for the firewall to be fully booted.
- Username:
admin- Password:
Ignite2020!

We’ll use the web UI to observe the changes we make to the firewall using Ansible.